Contents
Before You Begin
Please make sure that you have enabled events before proceeding.
Creating Events from the Frontend
Go to the Events page on your site and locate and click Creating Event:
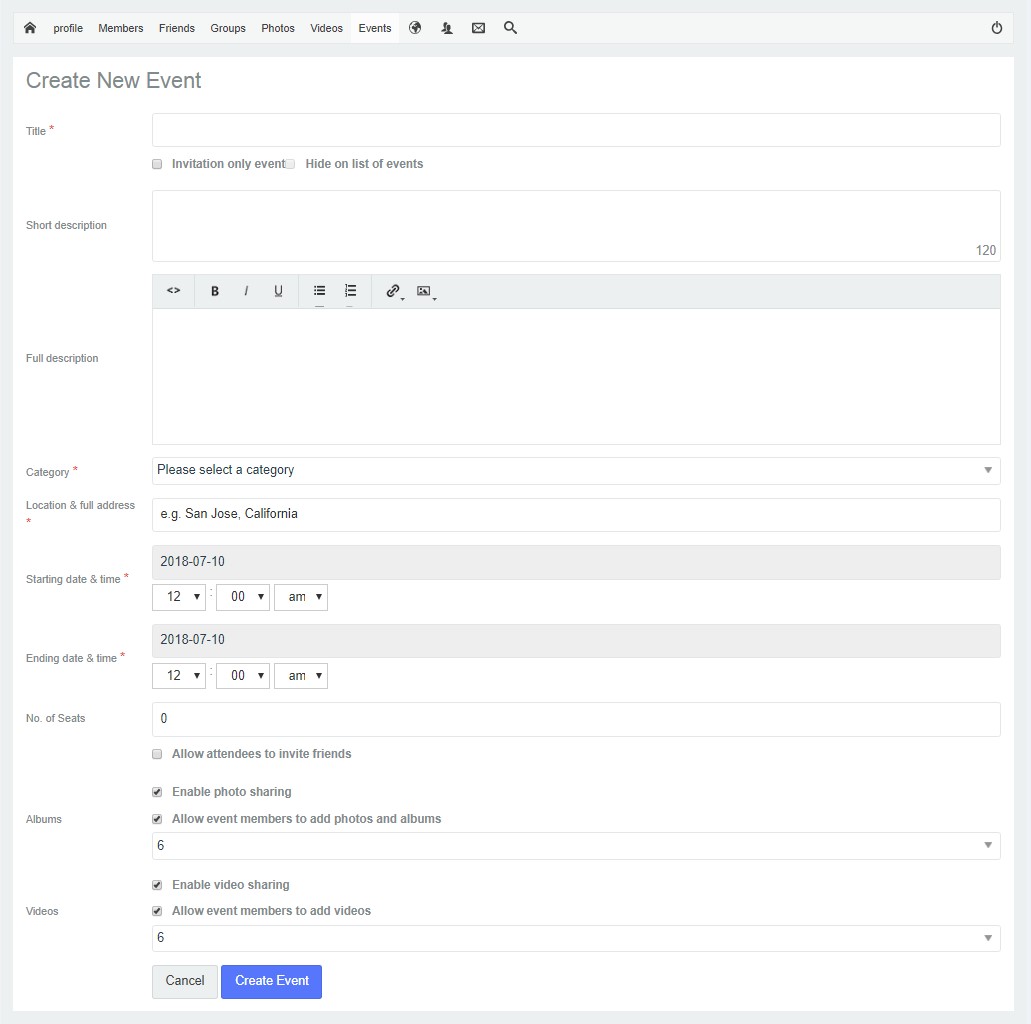
The Create New Event form will appear:
Options on Create New Event Page
- Title - Unlike Groups, the Title of the event doesn’t have to be unique, but it IS mandatory.
- Set event as private - This option will require users to request an invitation or the Event Admin to set one for their friends. Please note that Event details will still be available to the general public, but they won’t be able to respond without an invitation.
- Summary - A short description that is shown on the Event Details page.
- Description - Full description of event.
- Category - Select the category of event.
- Location - Google Maps location of the event.
- Start Time - Starting hour of the event.
- End Time - Time when the event ends.
- All-day - This means that the event has no starting and ending times, but it will last for the entire day.
- Repeat - Select the recurrence of an event. (Only available if recurring option is enabled in events configuration.
- No. of Seats - Maximum number of users who can attend the event. 0 indicates it is unlimited.
- Allow guest to invite - This option will allow every attendee of the event to invite their friends.
- Allow File share - This option will allow every attendee of the event to to share a file in the event (Any document file).
- Allow Poll - This option will allow every attendee of the event to create Poll.
Continue Creating Event
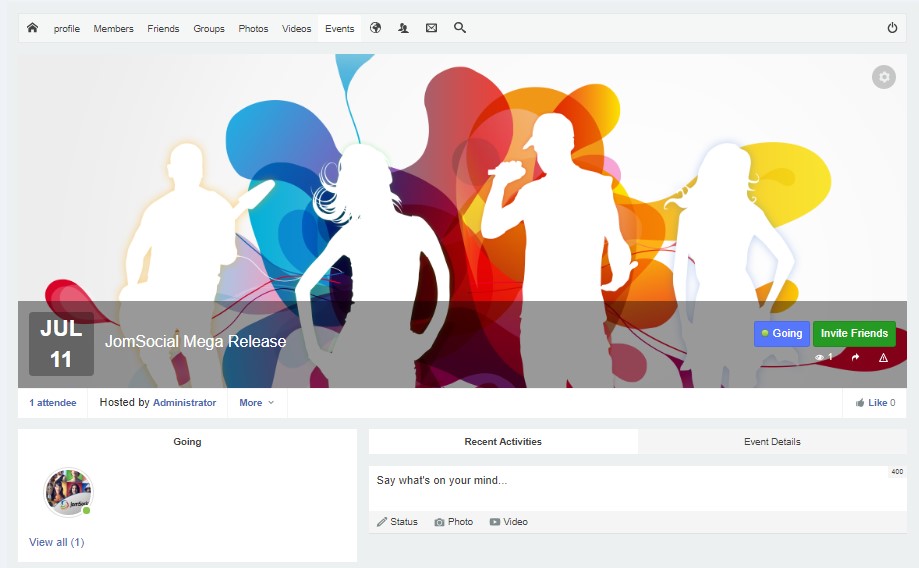
Click Create Event. If all required fields have been properly completed, the event page will be appear:


