Introduction
ZenCoder makes it easy for a community that has no FFMPEG access on its server to upload and convert videos using a Third-Party video conversion service. Recently, there are some updates on Amazon's AWS service that would require you to setup a special "bucket policy" to allow an external service to add and retrieve files.
After inputting ZenCoder credentials in JomSocial Configuration, you will need to configure Amazon S3 to allow file uploading and downloading from the S3 Bucket.
Setting It Up
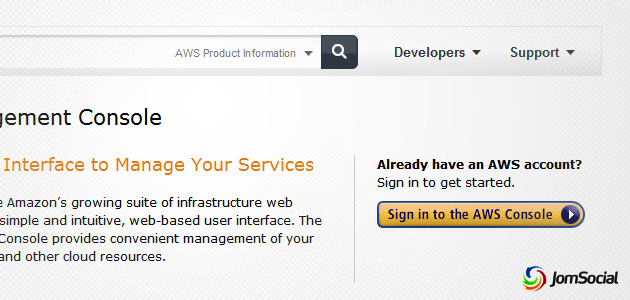
- To get started, please login to the Amazon AWS Console:
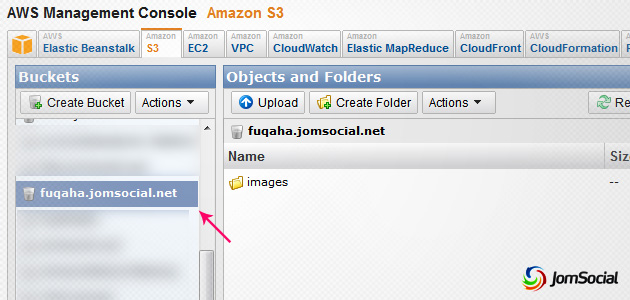
- Once you have logged in, please select the correct bucket that you will use for ZenCoder video files:
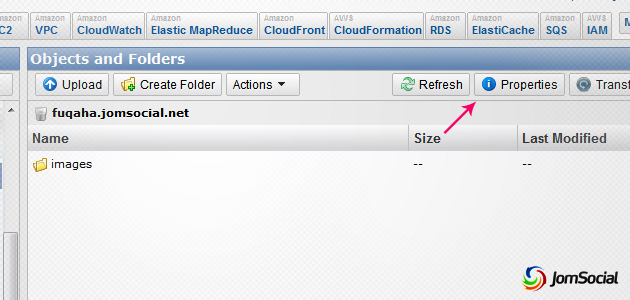
- Then click Properties:
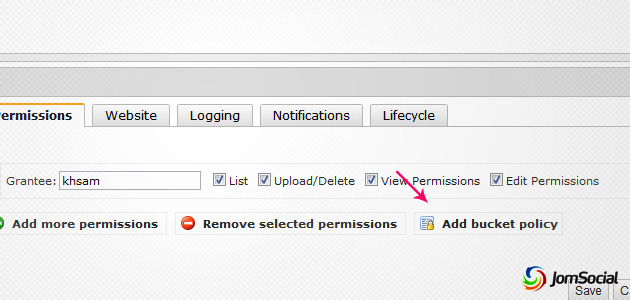
- A bar will appear at the bottom; click Add bucket policy:
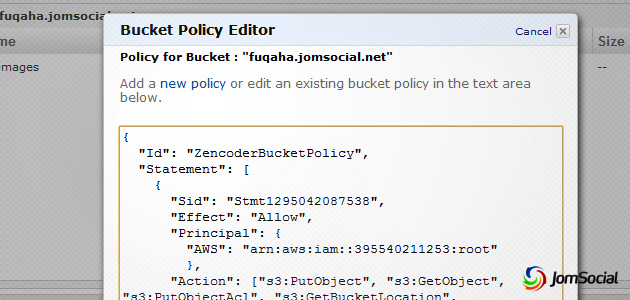
- In the popup window, Copy and Paste this Policy:
{
  "Id": "ZencoderBucketPolicy",
  "Statement": [
    {
      "Sid": "Stmt1295042087538",
      "Effect": "Allow",
      "Principal": {
        "AWS": "arn:aws:iam::395540211253:root"
        },
      "Action": ["s3:PutObject", "s3:GetObject", "s3:PutObjectAcl", "s3:GetBucketLocation", "s3:ListBucketMultipartUploads", "s3:ListMultipartUploadParts"],
      "Resource": "arn:aws:s3:::MY-BUCKET/*"
    }
  ]
}
You are almost ready, but first, you will need to change the MY-BUCKET text in the above code.
- Replace 'MY-BUCKET' with your own bucket name.
- Do not delete the /* that appears after the bucket name. This is important to ensure that all files within the bucket will have the preconfigured access privilege.
Save and you are now ready to go!

