(Created page with "===Linkedin Login Integration=== From JomSocial 4.7.5, Google Social login option is supported :::File:Screenshot_5.jpeg ===Application Configurations : === ===Create...") |
(→Linkedin Login Integration) |
||
| Line 1: | Line 1: | ||
| − | === | + | ===Google Login Integration=== |
From JomSocial 4.7.5, Google Social login option is supported | From JomSocial 4.7.5, Google Social login option is supported | ||
Revision as of 02:18, 16 October 2019
Google Login Integration
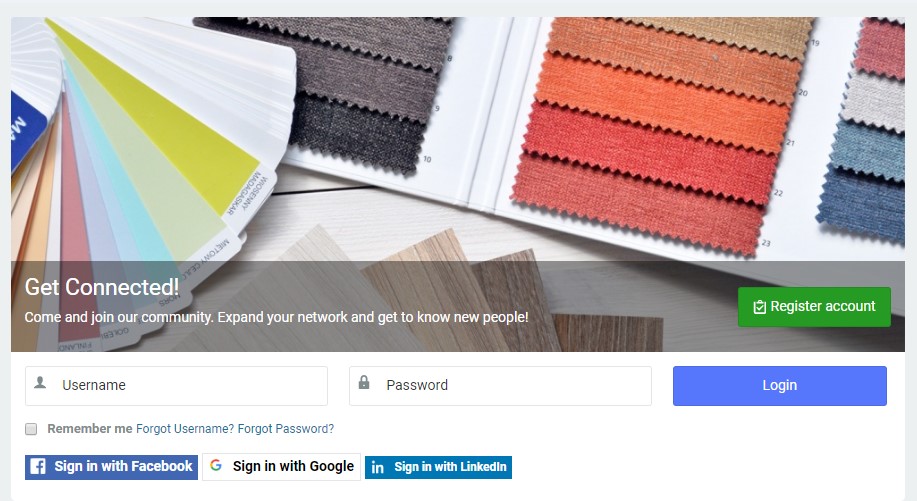
From JomSocial 4.7.5, Google Social login option is supported
Application Configurations :
Create application :
Navigate to https://console.developers.google.com/apis/dashboard login with your Google account to create a Client ID.
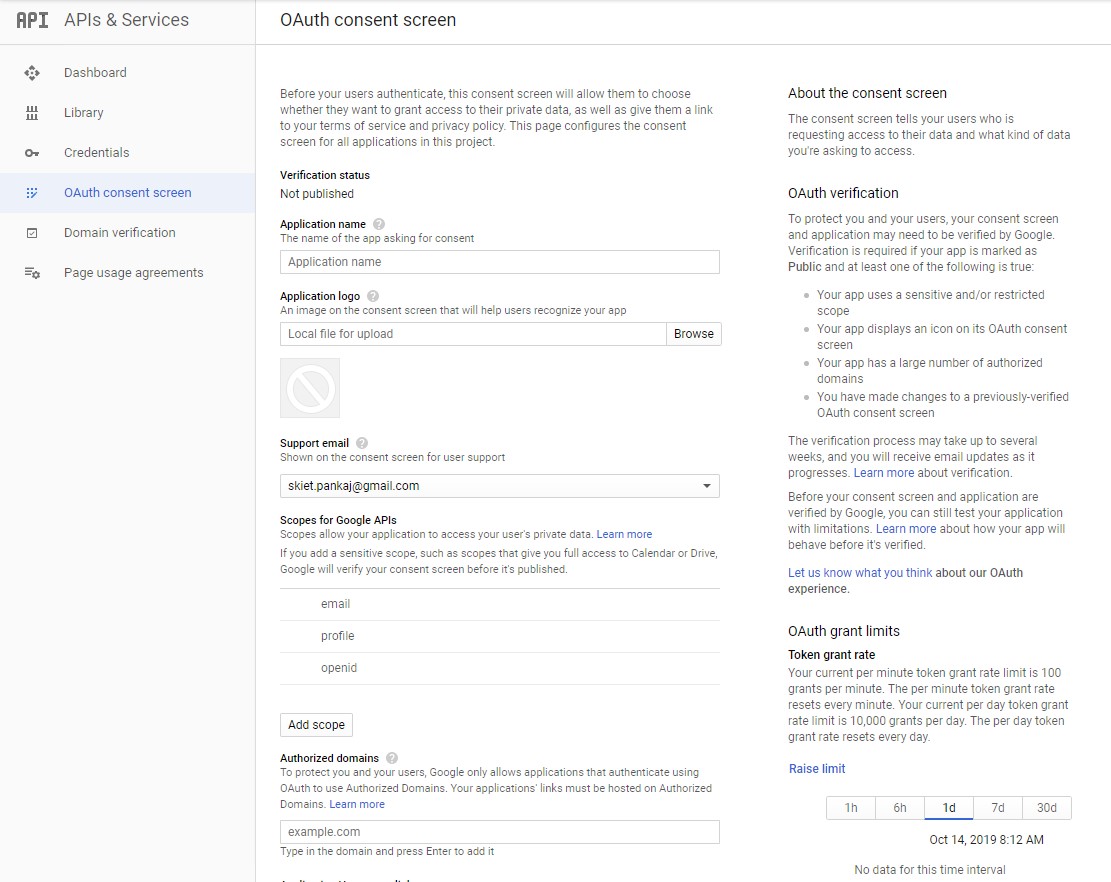
- At Credentials menu, select create OAuth Client ID and fill the form - OAuth consent screen, add Authorized domains
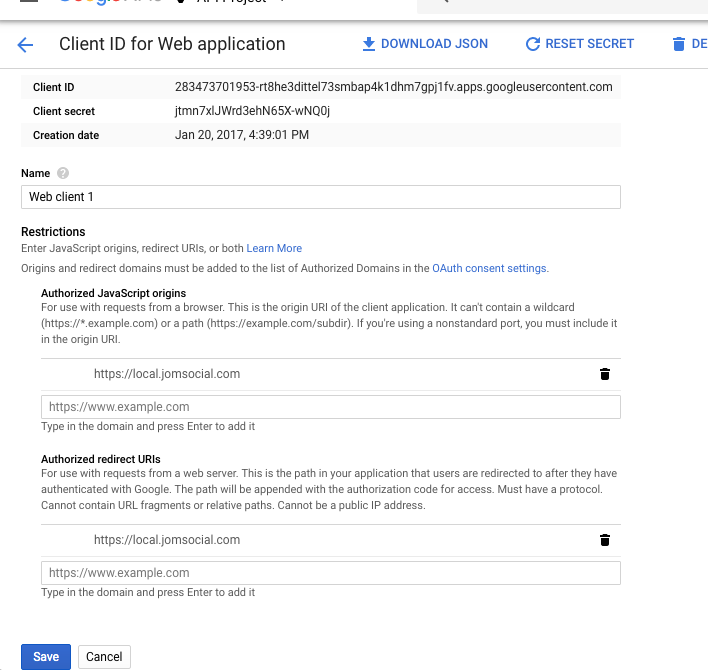
- Google client ID always ended with: ...apps.googleusercontent.com
jomsocial Joomla social community extension 4.7.5 Google OAuth consent screen setup:
- Application Name - Enter a name for your application.
- Application logo
- Support Email - Enter the email address you used as a support email.
- Authorise Domain setup
Once you setup the Consent setup, you can click on the authentication Tab to finish the setup and copy the Client ID.
Create an Auth Client as a Web application. Submit the Site domain details and save.
jomsocial Joomla social community extension 4.7.5 Google login app setup on backend:
Once the application is successfully created, its time to copy the keys and paste them in JomSocial > Configurations > Integration > Google
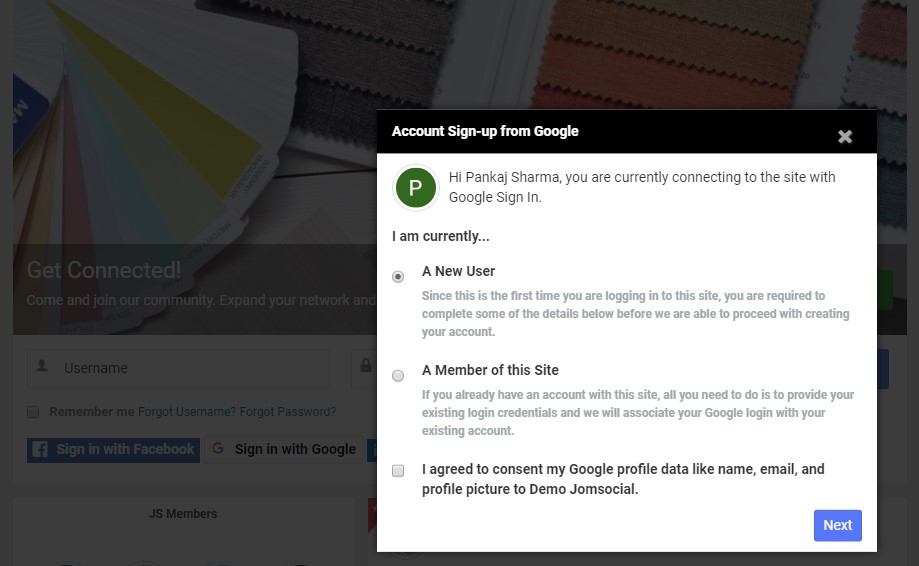
If you are a new user or logging in on-site for the first time via Google login. you must authorize the application


