(→Setting Up) |
(→Creating Multiple Profiles) |
||
| Line 25: | Line 25: | ||
# Then select '''Multiple Profiles'''. | # Then select '''Multiple Profiles'''. | ||
| − | ::: [[File: | + | ::: [[File:js-menu-sidebar.jpeg]]<br/><br/> |
The screen that opens will allow us to manage the '''Multiple Profiles''' on the site. By default, it should be blank. Click '''New''' to create a new profile type as shown in the picture below:<br/> | The screen that opens will allow us to manage the '''Multiple Profiles''' on the site. By default, it should be blank. Click '''New''' to create a new profile type as shown in the picture below:<br/> | ||
| − | ::: [[File: | + | ::: [[File:multiprofile-option.jpeg]]<br/><br/> |
The '''Multiple Profile Type''' pane will then open and there will be a lot of new options to configure:<br/> | The '''Multiple Profile Type''' pane will then open and there will be a lot of new options to configure:<br/> | ||
| − | ::: [[File: | + | ::: [[File:add-new-profile.jpeg ]] |
===Multi-Profile Options=== | ===Multi-Profile Options=== | ||
Revision as of 04:48, 25 June 2018
Contents
Overview
The JomSocial multi-profile feature allows administrators to setup different types of profiles on the site.
Multi-Profile Features
- Create unlimited profile types.
- Use different profile fields for individual profile types.
- Use different avatars and watermarks.
- It will NOT nest users into multiple profile types.
- It will NOT be mandatory when using Facebook Connect for registration.
Setting Up
Before you start creating multiple profiles, please make sure that Multiple Profiles is enabled. In JomSocial > Configuration, under the Site pane, locate the setting as indicated in image below:
Enable Multiple Profiles - Enabled by default.
Creating Multiple Profiles
- Navigate to JomSocial Dashboard.
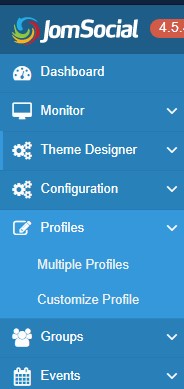
- From the Menu on the left, expand Profiles.
- Then select Multiple Profiles.
The screen that opens will allow us to manage the Multiple Profiles on the site. By default, it should be blank. Click New to create a new profile type as shown in the picture below:
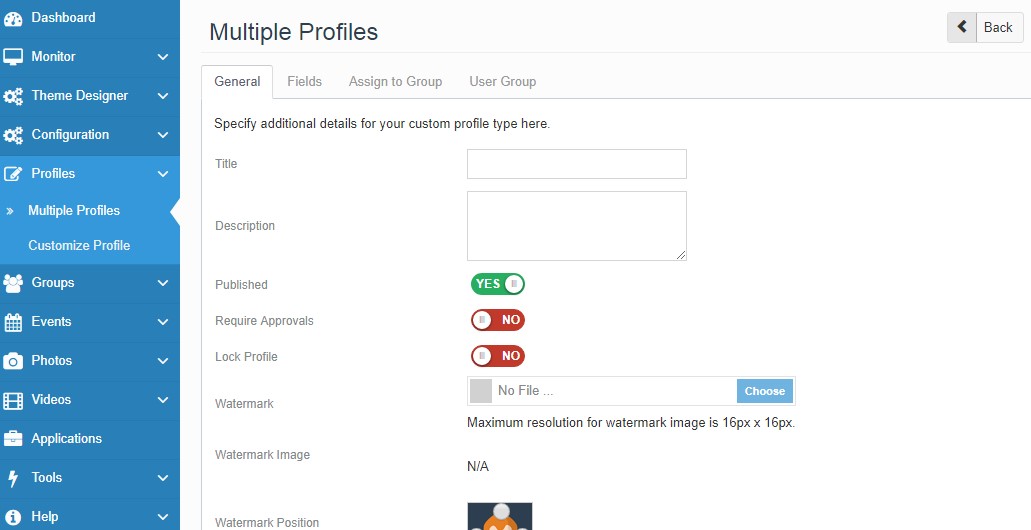
The Multiple Profile Type pane will then open and there will be a lot of new options to configure:
Multi-Profile Options
- Title - Name of the Multi-profile type .
- Description - Description of the Multi profile type.
- Published - Select Yes to publish this profile type.
- Require Approvals - Set the approval requirement for Profile Type.
- Allow group creation - Allow all users in this Profile Type to create Groups.
- Allow event creation - Allow all users in this Profile Type to create Events.
- Lock Profile - If set to no, users in this Profile Type will be able to change the Multi-profile Type (only if the global option in the configuration is set to No, as well)
- Watermark - Upload watermark image.
- Watermark Position - Select the position of avatar watermark.
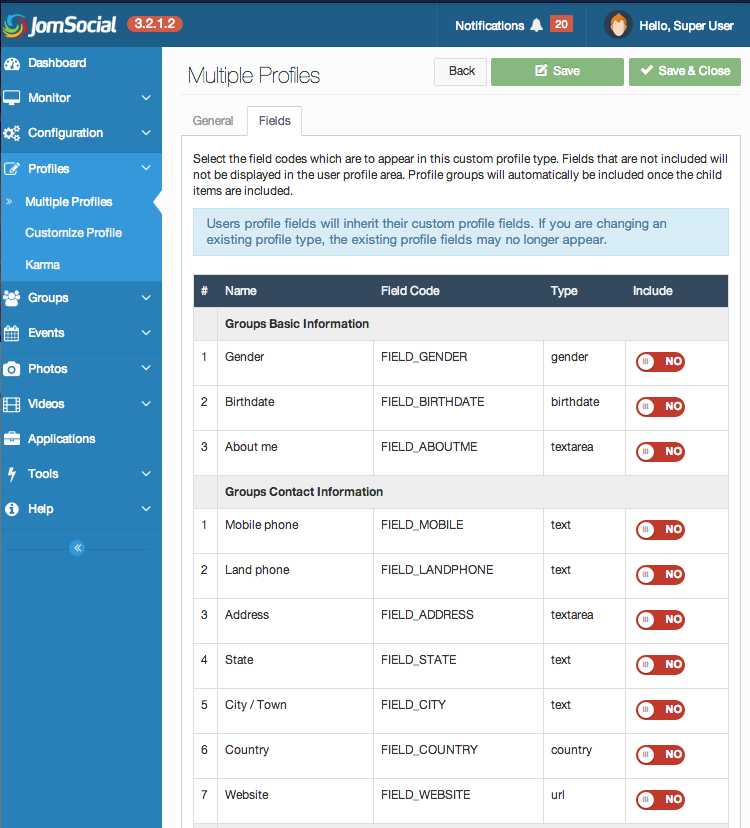
Custom Profile Fields in Multi-Profile Settings
Select which Field Codes appear in this Custom Profile Type. Fields that are not included will not be displayed in the User Profile. Profile groups will automatically be included once the child items are included.


