Sinisakrisan (Talk | contribs) |
|||
| Line 1: | Line 1: | ||
| − | {{alert| <center><strong>NOTE!!!</strong> This page covers the installation process for JomSocial 2.8 and above. If you | + | {{alert| <center><strong>NOTE!!!</strong> This page covers the installation process for JomSocial 2.8 and above. If you are looking for an installation guide for an earlier version, please, [[Installation - Old|click here]] </center>|alert}} |
==Overview== | ==Overview== | ||
| − | This guide covers | + | This guide covers a fresh installation of the jomSocial component into the Joomla CMS. You will need a working Joomla! site in order to install JomSocial. Please refer to the article, [[System Requirements|minimum system requirements]], to determine the requirements your server will have to meet.<br /> |
| − | If you are upgrading JomSocial, please refer to | + | If you are upgrading JomSocial, please refer to [[Upgrading|upgrading]]. |
| − | ===Downloading Package=== | + | ===Downloading the Package=== |
| − | Go to www.jomsocial.com | + | Go to www.jomsocial.com homepage. From main menu at top of the page, click on the '''Account''' tab. |
[[File:Jomsocialcom.png]] | [[File:Jomsocialcom.png]] | ||
| − | From your | + | From your Account Area, click on the available download link and download the installation package to your hard drive. |
[[File:Jsmyaccount.png]] | [[File:Jsmyaccount.png]] | ||
| − | ===Unpacking | + | ===Unpacking the Installation Package=== |
| − | Extract the content of the downloaded package | + | Extract the content of the downloaded package. |
[[File:Extract.png]] | [[File:Extract.png]] | ||
| − | You will now have | + | You will now have three (3) new .zip archives: |
* ''apps_unzip_first_2.8.X.zip'' - this is the archive of all applications and plugins, please, [[Installing Plugin|click here]] to find out how to install plugins and applications | * ''apps_unzip_first_2.8.X.zip'' - this is the archive of all applications and plugins, please, [[Installing Plugin|click here]] to find out how to install plugins and applications | ||
* ''''''com_community_pro_2.8.X.zip''''' - This is the installer we well use for component installation | * ''''''com_community_pro_2.8.X.zip''''' - This is the installer we well use for component installation | ||
* ''modules_unzip_first_2.8.X.zip'' - archive containing all the official jomSocial modules. Please, [[Installing Module|click here]] to see how to install modules. | * ''modules_unzip_first_2.8.X.zip'' - archive containing all the official jomSocial modules. Please, [[Installing Module|click here]] to see how to install modules. | ||
| − | === | + | ===Check for Installation Permissions=== |
| − | 1. Login to your Joomla | + | 1. Login to your Joomla Administrator backend. On the Administrator Panel, click on '''System Information'''.<br/> |
[[File:Joomlasysteminformation.png]]<br/> | [[File:Joomlasysteminformation.png]]<br/> | ||
| − | 2. Click | + | 2. Click the '''Directory Permissions''' tab and make sure all folders are '''Writable''' <br/> |
[[File:Joomladirectoryperms.png]] | [[File:Joomladirectoryperms.png]] | ||
| − | ===Uploading | + | ===Uploading the Installation Package=== |
1. From '''Extensions''' dropdown menu select '''Extension Manager''' option.<br> | 1. From '''Extensions''' dropdown menu select '''Extension Manager''' option.<br> | ||
[[File:Extensionmanagermenu.png]]<br/> | [[File:Extensionmanagermenu.png]]<br/> | ||
2. At Upload Package File window, browse for the '''com_community_[version].zip''' file and choose it. Then, click on '''Upload & Install''' button to begin installation<br/> | 2. At Upload Package File window, browse for the '''com_community_[version].zip''' file and choose it. Then, click on '''Upload & Install''' button to begin installation<br/> | ||
[[File:Selectandupload.png]]<br/> | [[File:Selectandupload.png]]<br/> | ||
| − | 3. Once uploaded, click | + | 3. Once uploaded, click the '''Complete Your Installation''' button |
[[File:Completeinstallation.png]] | [[File:Completeinstallation.png]] | ||
| − | ===Completing the | + | ===Completing the Installation=== |
| − | 1. The first JomSocial | + | 1. The first JomSocial installation screen appears. Make sure all the requirements are met and then click '''Next'''<br/> |
| − | '''Note''' | + | '''Note''': If any of the values are marked in yellow (like last one on our screen shot example), do not worry, JomSocial will probably still work since the values shown on this screen are '''Recommended''' and NOT the minimum system requirements. To see the minimum system requirements, please [[System Requirements|click here]].<br/> |
[[File:Installationscreen.png]]<br/> | [[File:Installationscreen.png]]<br/> | ||
2. Press '''Next''' on all screens until installation is completed.<br/> | 2. Press '''Next''' on all screens until installation is completed.<br/> | ||
[[File:Installationcompleted.png]]<br/> | [[File:Installationcompleted.png]]<br/> | ||
| − | 3. Click | + | 3. Click '''Done''' to finish the installation. You will be greeted with the JomSocial Backend Control Panel<br/> |
[[File:Installationdone.png]] | [[File:Installationdone.png]] | ||
| − | ===Alternative | + | ===Alternative Installation Method=== |
| − | You can also install JomSocial by manually uploading all the files to your | + | You can also install JomSocial by manually uploading all the files to your hosted server via FTP by simply following the steps below: |
1. Extract the 'com_community_[version].zip' file.<br /> | 1. Extract the 'com_community_[version].zip' file.<br /> | ||
Revision as of 01:11, 7 March 2013
Contents
Overview
This guide covers a fresh installation of the jomSocial component into the Joomla CMS. You will need a working Joomla! site in order to install JomSocial. Please refer to the article, minimum system requirements, to determine the requirements your server will have to meet.
If you are upgrading JomSocial, please refer to upgrading.
Downloading the Package
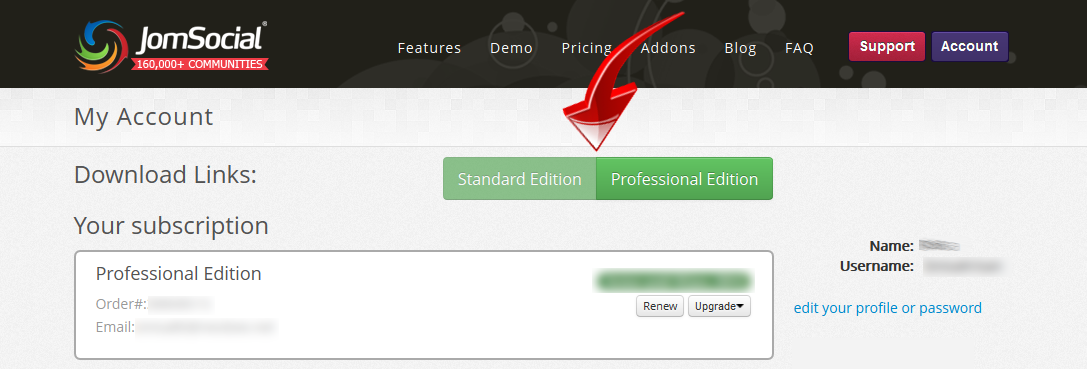
Go to www.jomsocial.com homepage. From main menu at top of the page, click on the Account tab.
From your Account Area, click on the available download link and download the installation package to your hard drive.
Unpacking the Installation Package
Extract the content of the downloaded package.
You will now have three (3) new .zip archives:
- apps_unzip_first_2.8.X.zip - this is the archive of all applications and plugins, please, click here to find out how to install plugins and applications
- 'com_community_pro_2.8.X.zip - This is the installer we well use for component installation
- modules_unzip_first_2.8.X.zip - archive containing all the official jomSocial modules. Please, click here to see how to install modules.
Check for Installation Permissions
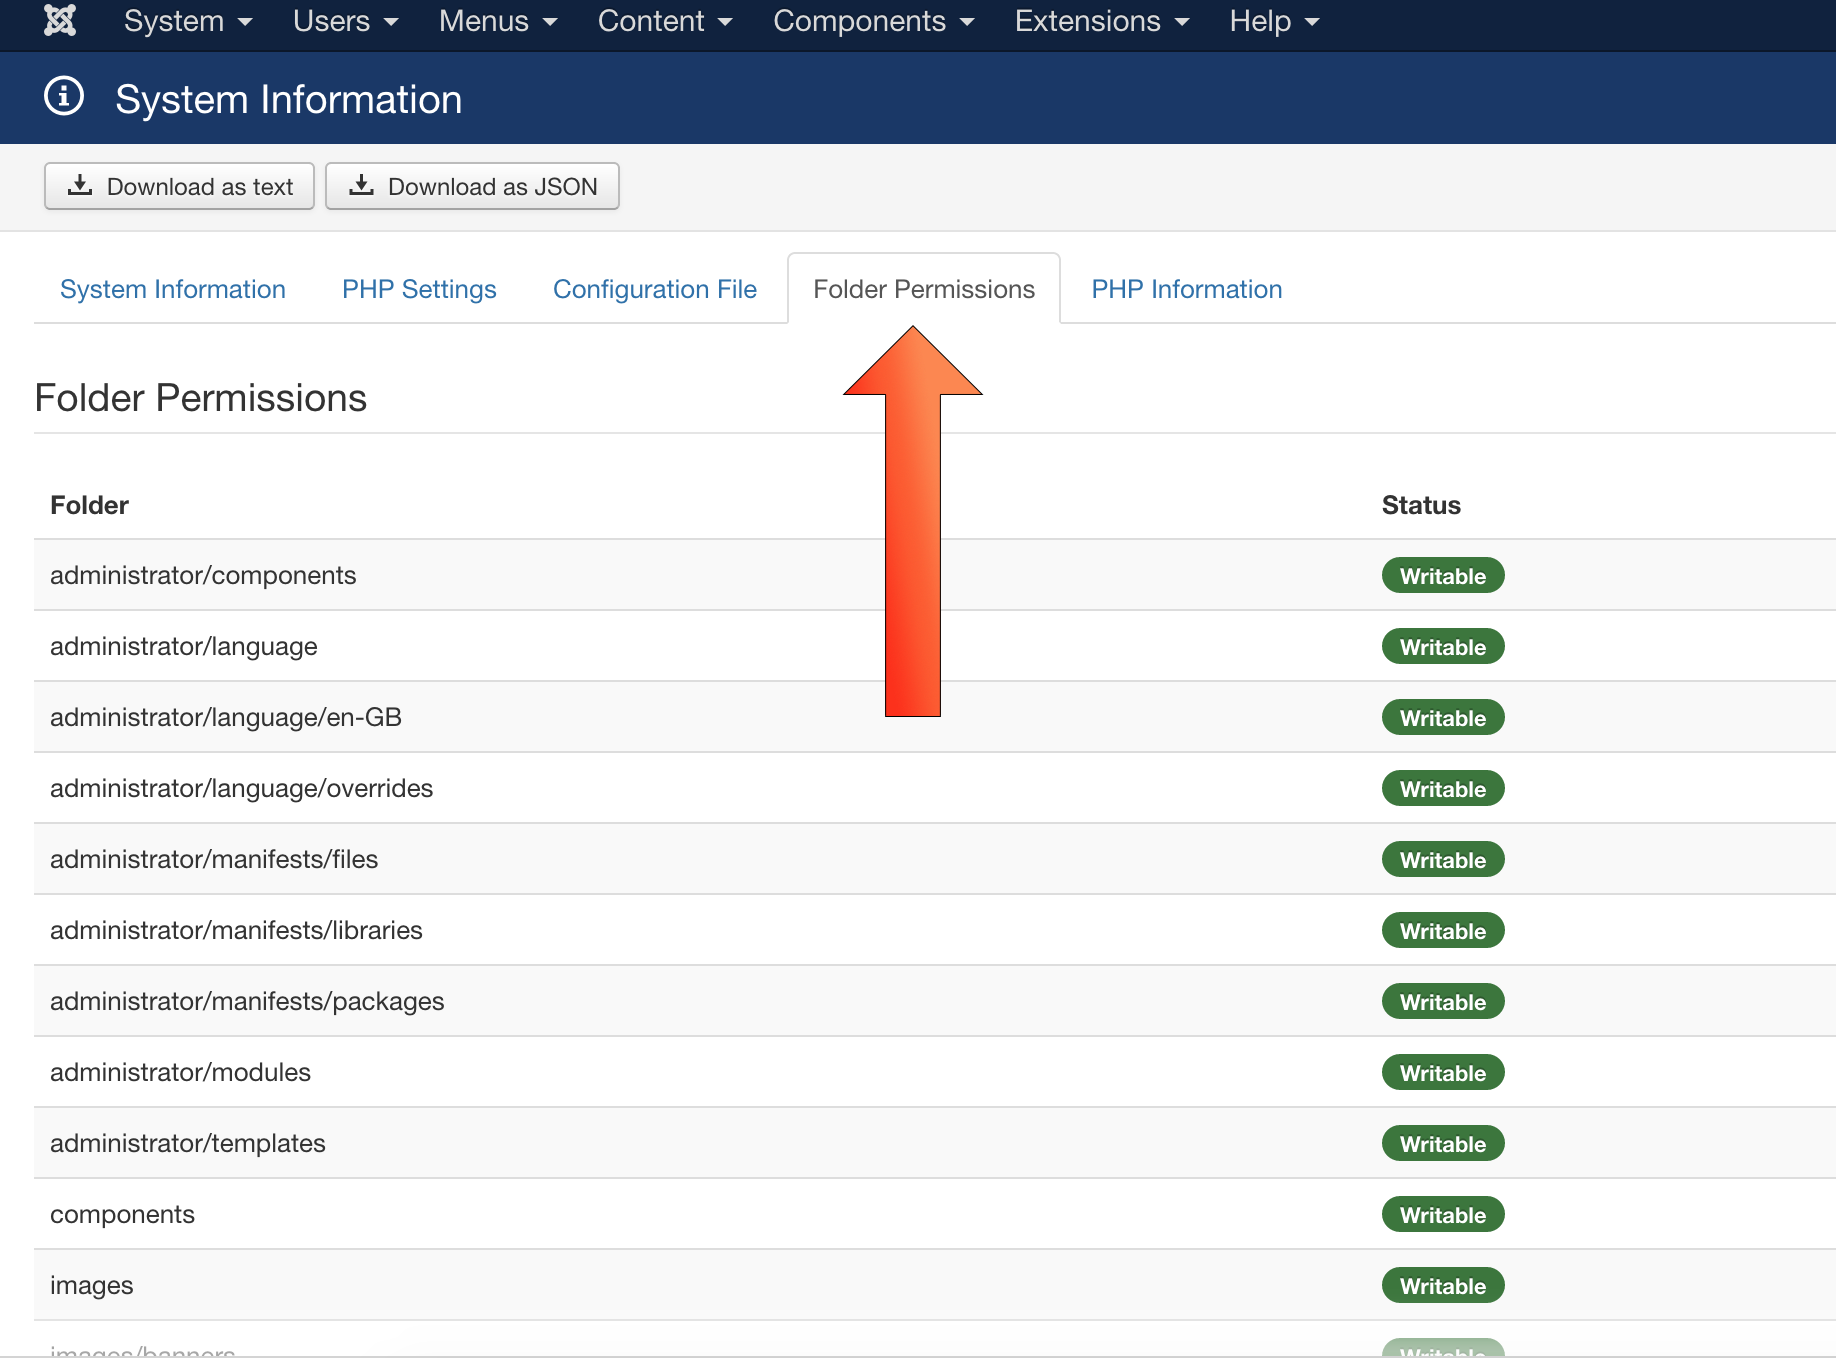
1. Login to your Joomla Administrator backend. On the Administrator Panel, click on System Information.

2. Click the Directory Permissions tab and make sure all folders are Writable
Uploading the Installation Package
1. From Extensions dropdown menu select Extension Manager option.

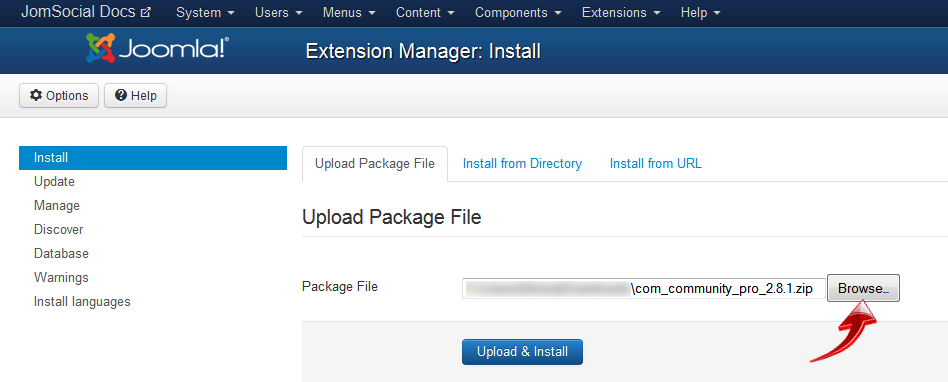
2. At Upload Package File window, browse for the com_community_[version].zip file and choose it. Then, click on Upload & Install button to begin installation
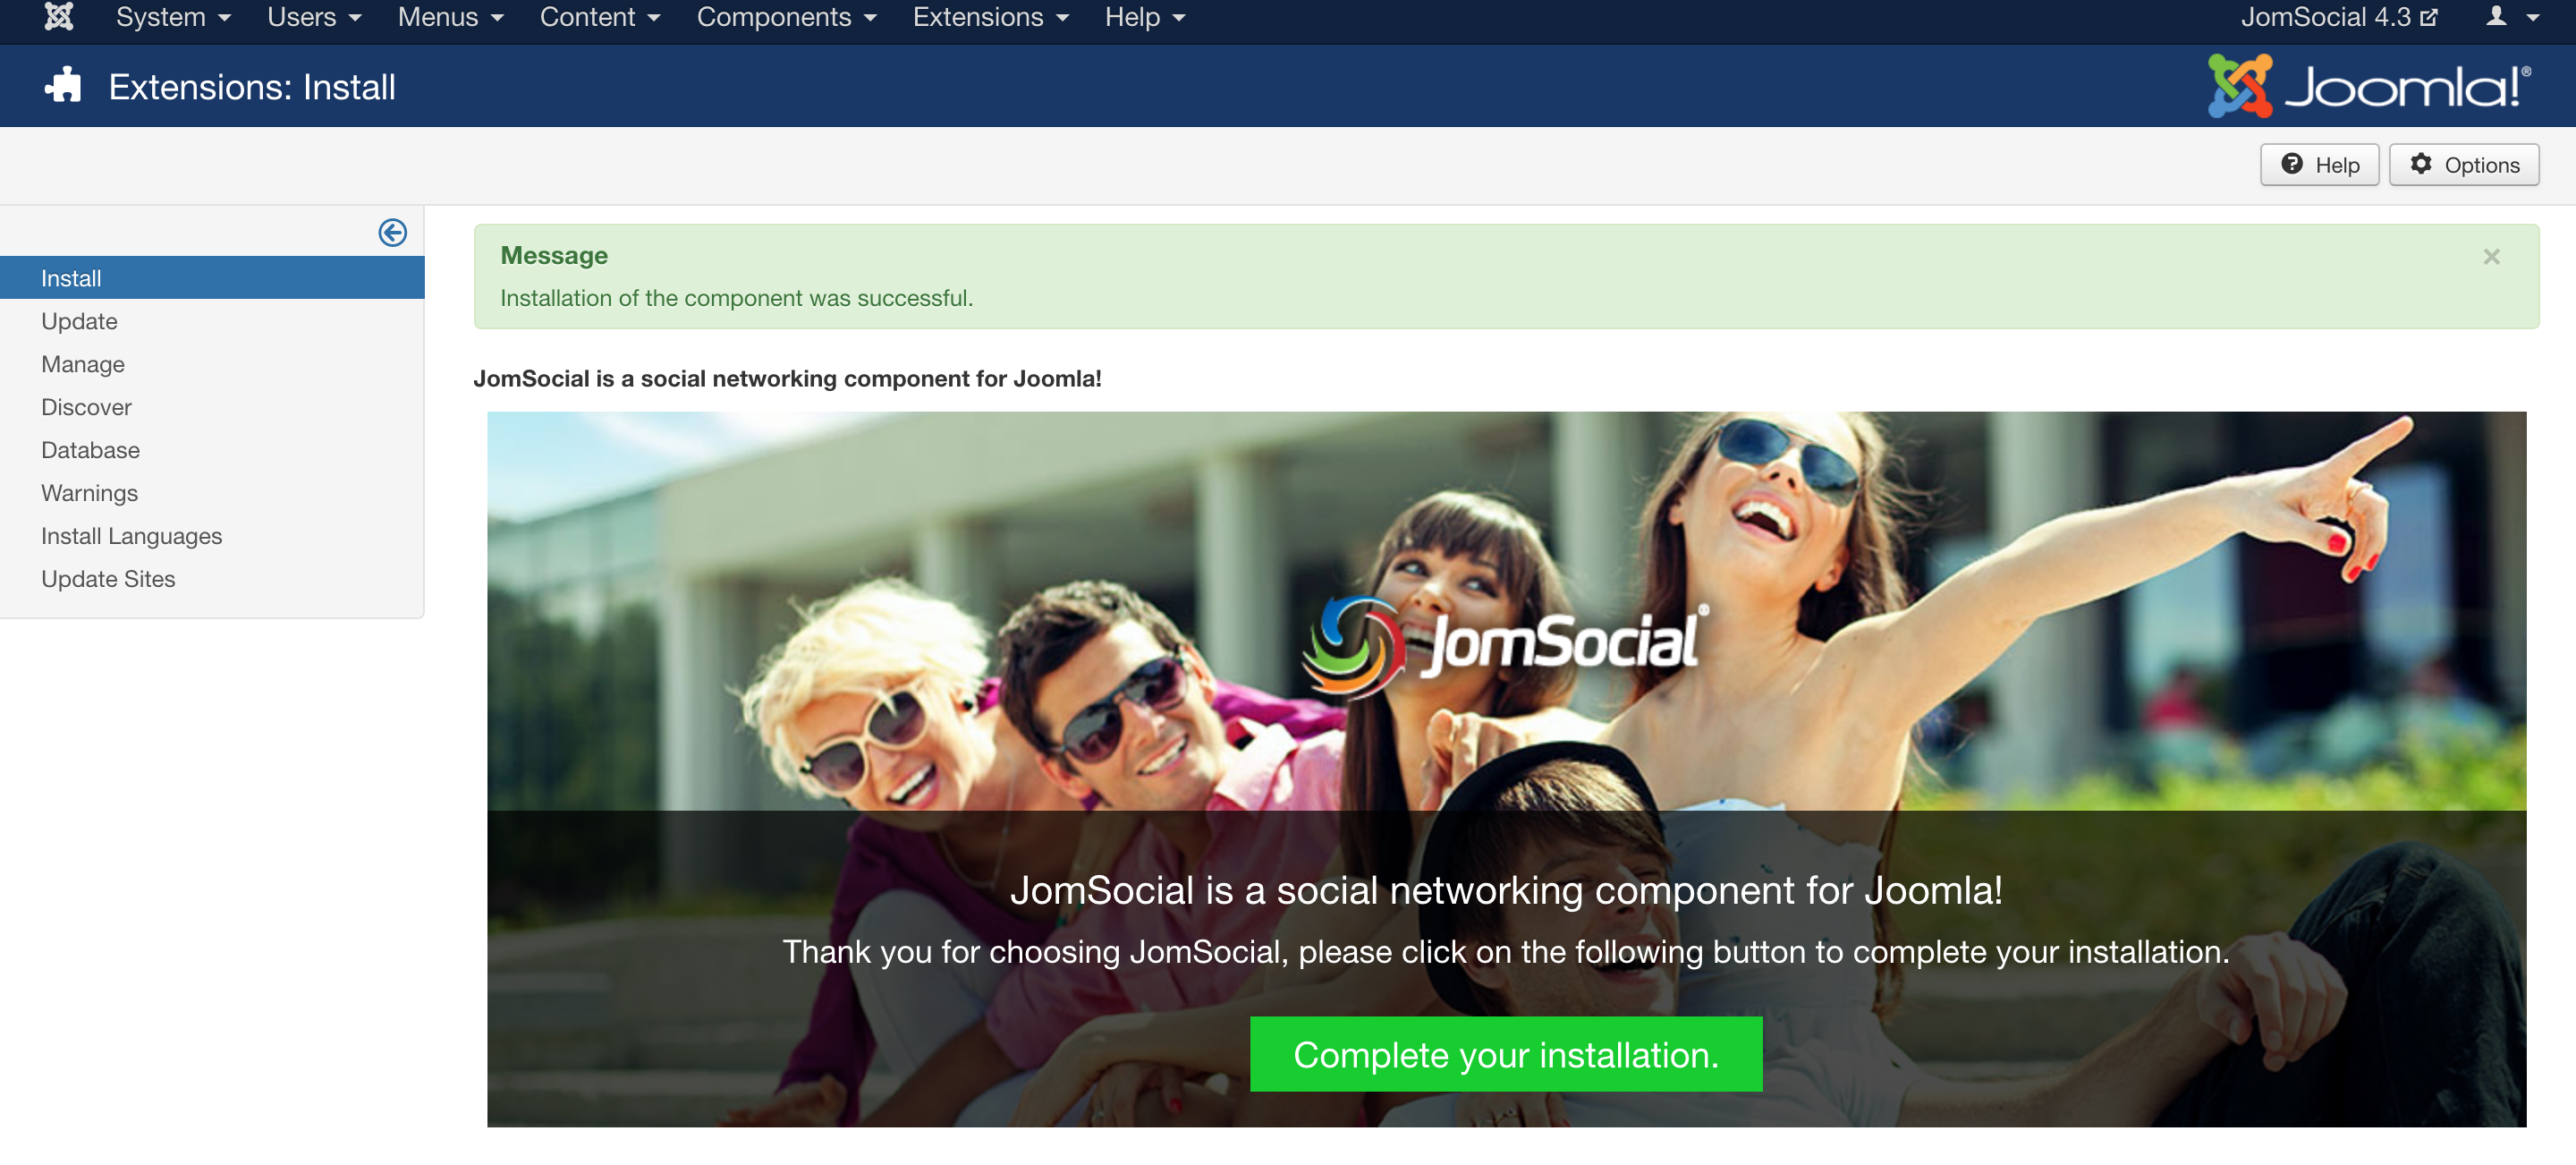
3. Once uploaded, click the Complete Your Installation button
Completing the Installation
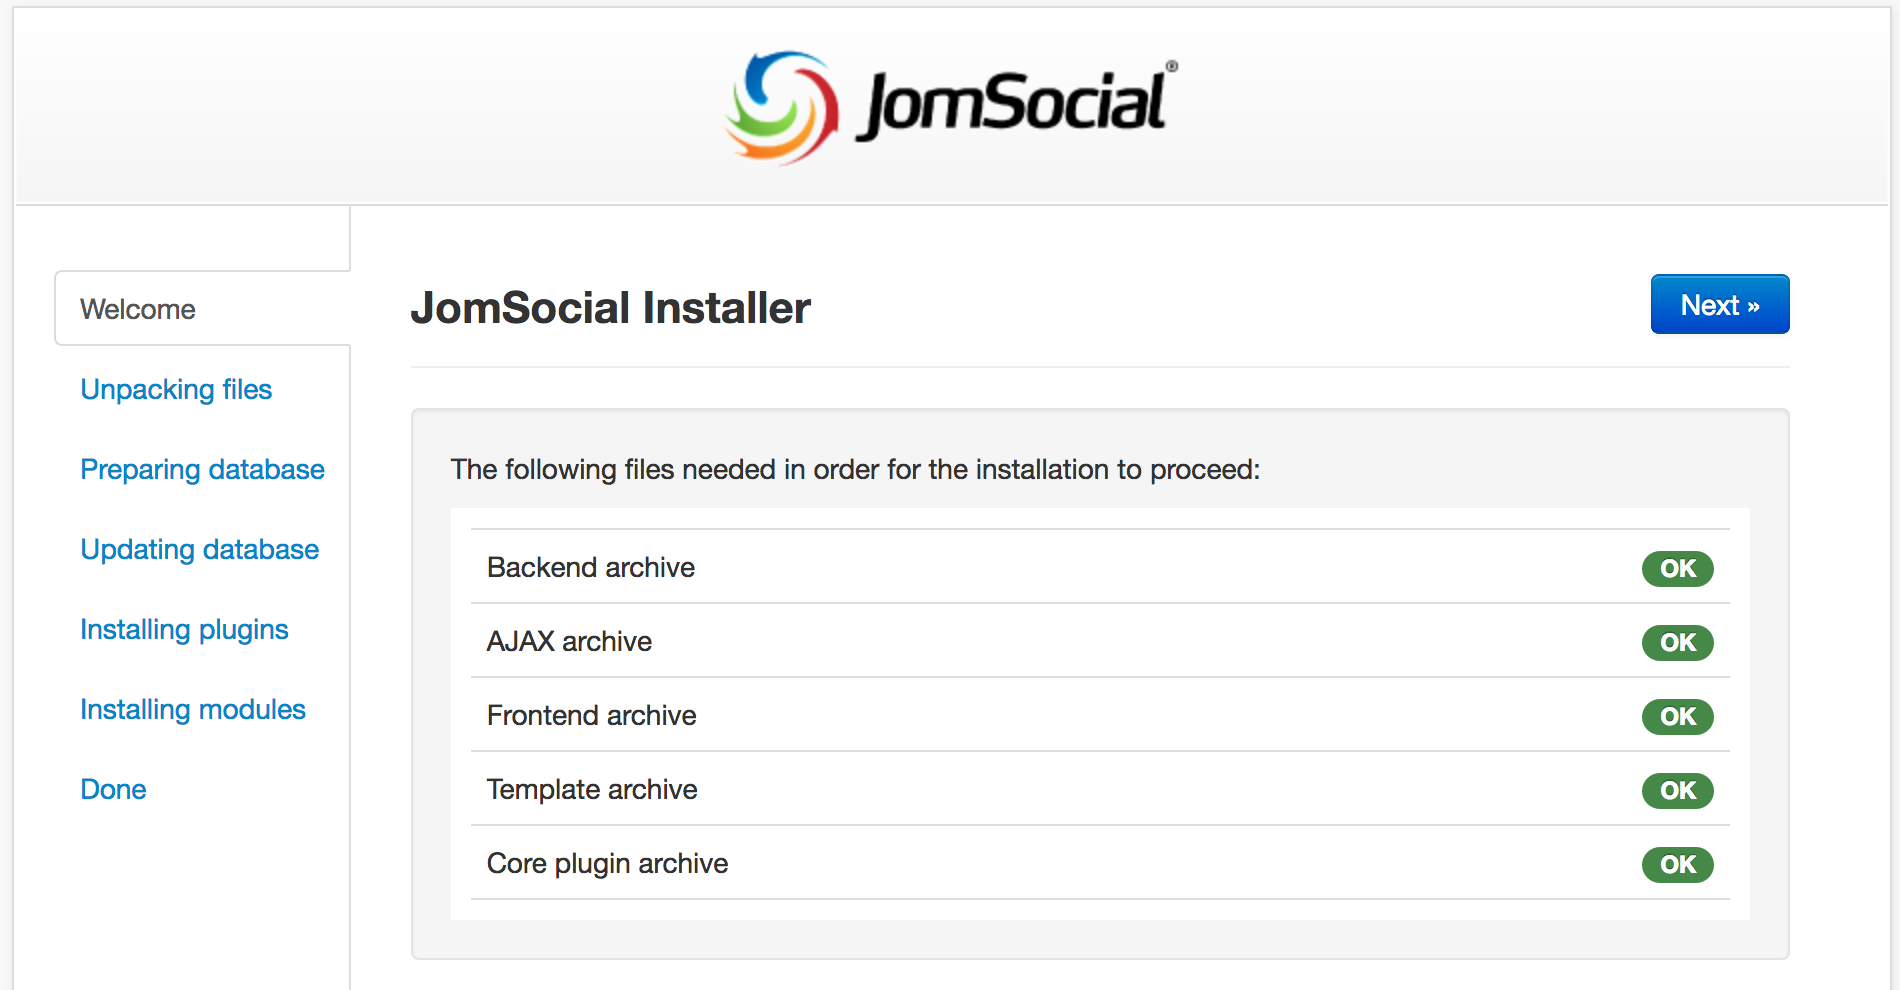
1. The first JomSocial installation screen appears. Make sure all the requirements are met and then click Next
Note: If any of the values are marked in yellow (like last one on our screen shot example), do not worry, JomSocial will probably still work since the values shown on this screen are Recommended and NOT the minimum system requirements. To see the minimum system requirements, please click here.
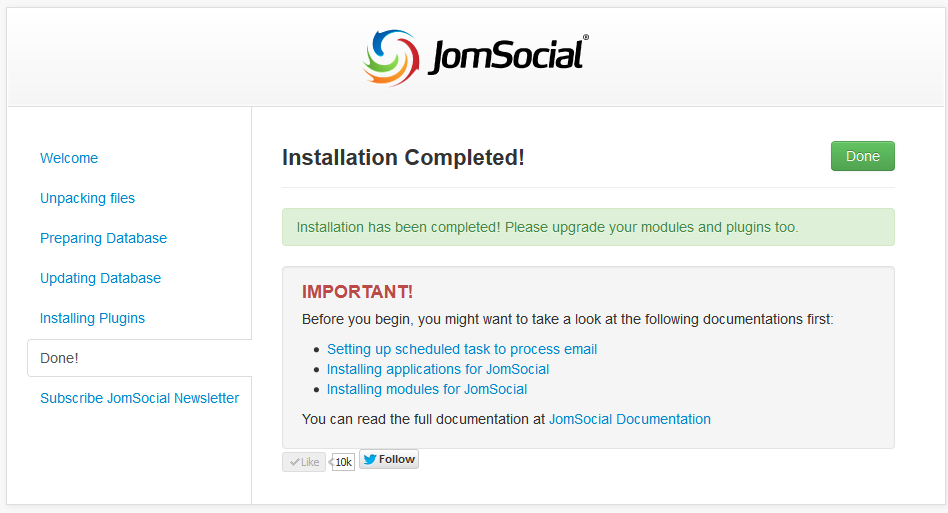
2. Press Next on all screens until installation is completed.
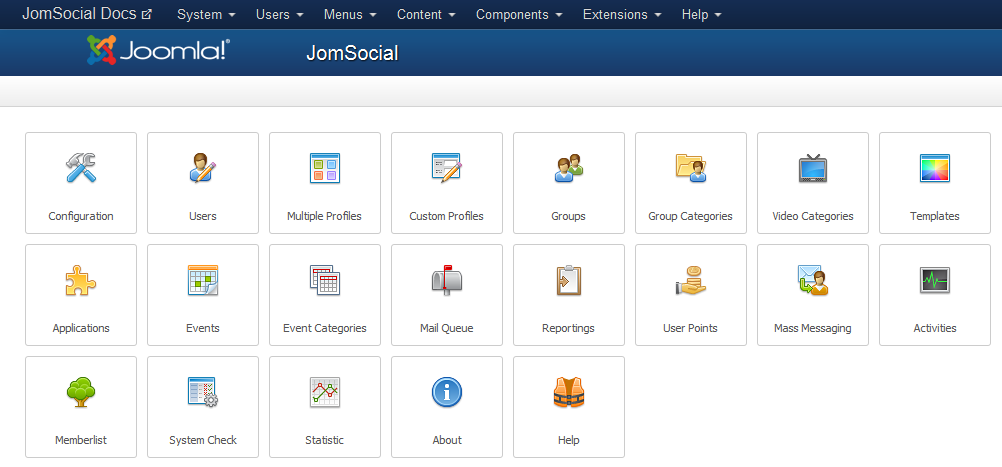
3. Click Done to finish the installation. You will be greeted with the JomSocial Backend Control Panel
Alternative Installation Method
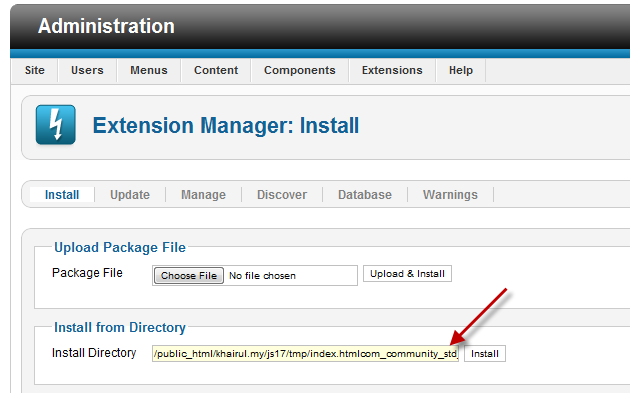
You can also install JomSocial by manually uploading all the files to your hosted server via FTP by simply following the steps below:
1. Extract the 'com_community_[version].zip' file.
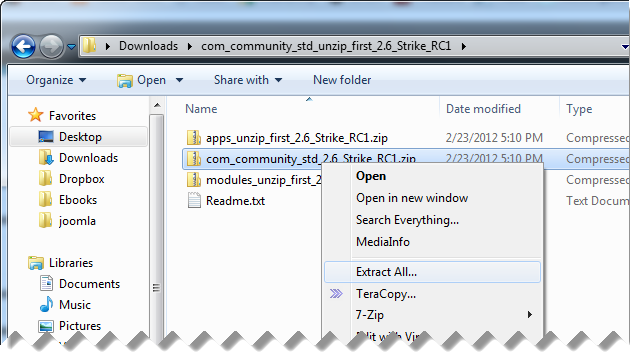
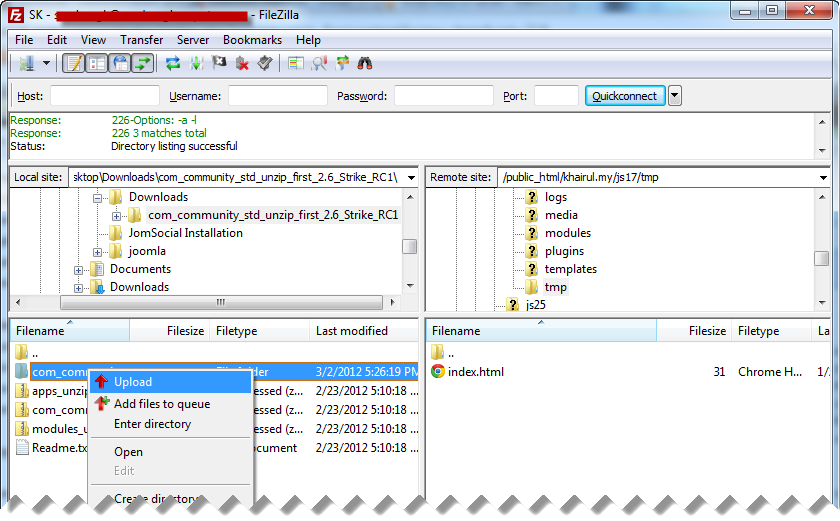
2. Upload the extracted folder to your joomla/tmp directory using your FTP client.
3. Go to Extensions > Extension Manager. At the "Install from Directory" section, point to the folder that you have uploaded just now. Then click on Install.
