Sinisakrisan (Talk | contribs) (→Using iJoomla installer to Install JomSocial 3) |
|||
| (31 intermediate revisions by one other user not shown) | |||
| Line 1: | Line 1: | ||
| − | + | NOTE : IJOOMLA Installer no Longer supported. | |
| − | + | ||
==Overview== | ==Overview== | ||
This guide covers a fresh installation of the jomSocial 3 component into the Joomla CMS. You will need a working Joomla! site in order to install JomSocial. Please refer to the article, [[System Requirements|minimum system requirements]], to determine the requirements your server will have to meet.<br /> | This guide covers a fresh installation of the jomSocial 3 component into the Joomla CMS. You will need a working Joomla! site in order to install JomSocial. Please refer to the article, [[System Requirements|minimum system requirements]], to determine the requirements your server will have to meet.<br /> | ||
| − | + | You can also use the iJoomla installer to [[Upgrading|upgrade]] your site | |
| − | + | ||
| − | + | ||
| − | + | ||
==Adding Support and Install Domain Licenses== | ==Adding Support and Install Domain Licenses== | ||
| Line 12: | Line 8: | ||
:::[[File:Navigation-myacc.png]] | :::[[File:Navigation-myacc.png]] | ||
| − | + | "My Downloads" page with all of the purchases you ever made will be open. | |
| − | + | ||
| − | + | ||
:::[[File:Mydownloads.png]] | :::[[File:Mydownloads.png]] | ||
<br/> | <br/> | ||
For every license you might have, please enter the '''support''' and '''install''' domain | For every license you might have, please enter the '''support''' and '''install''' domain | ||
* '''Support Domain''' - This will be the domain you will officially get technical support for | * '''Support Domain''' - This will be the domain you will officially get technical support for | ||
| − | * '''Domains you wish to install this product on''' - All | + | * '''Domains you wish to install this product on''' - All additional domains you want to install the component on. No technical support will be provided for those. |
{{alert|'''LOCALHOST INSTALLATION''' If you are installing on the localhost, just enter the domain name of your live site in both, support and install domain. You are not required to define '''localhost''' as support or installation domain|alert-info}} | {{alert|'''LOCALHOST INSTALLATION''' If you are installing on the localhost, just enter the domain name of your live site in both, support and install domain. You are not required to define '''localhost''' as support or installation domain|alert-info}} | ||
==Downloading iJoomla Installer== | ==Downloading iJoomla Installer== | ||
| − | After '''support''' and '''instalation''' domains have been set, the green download button will become active and you will be able to download | + | After '''support''' and '''instalation''' domains have been set, the green download button will become active and you will be able to download the package you have purchased. |
:::[[File:Downloadinstallergreenbutton.png]] | :::[[File:Downloadinstallergreenbutton.png]] | ||
| − | Download the | + | Download the package and save it on your hard drive |
==Check for Installation Permissions== | ==Check for Installation Permissions== | ||
| − | 1. Login to your Joomla Administrator backend. | + | 1. Login to your Joomla Administrator backend. From the '''System''' dropdown menu, click on '''System Information'''.<br/> |
<br/> | <br/> | ||
| − | ::: [[File: | + | ::: [[File:System info.png]]<br/><br/> |
| − | 2. Click the ''' | + | 2. Click the '''Folder Permissions''' tab and make sure all folders are '''Writable'''. <br/> |
<br/> | <br/> | ||
::: [[File:Joomladirectoryperms.png]] | ::: [[File:Joomladirectoryperms.png]] | ||
| − | ==Using iJoomla installer to Install JomSocial | + | ==Using iJoomla installer to Install JomSocial== |
| − | + | First, unpack the downloaded package using WinZip or any other archive software<br/> | |
| + | Navigate back to backend and from '''Extensions''' dropdown menu select '''Manage''' then '''Install''' | ||
::: [[File:Extensionmanagermenu.png]] | ::: [[File:Extensionmanagermenu.png]] | ||
| − | From the '''Upload Package File''' tab under '''Install''', browse for the ''' | + | From the '''Upload Package File''' tab under '''Install''', browse for the '''iJoomla-Installer-Updater.zip''' file you unzipped and select it. Then, click '''Upload & Install''' to begin installation |
::: [[File:Ijoomlainstallerinstall.png]] | ::: [[File:Ijoomlainstallerinstall.png]] | ||
Once installed, navigate to '''Components''' -> '''iJoomla Installer''' component | Once installed, navigate to '''Components''' -> '''iJoomla Installer''' component | ||
| Line 44: | Line 39: | ||
The following page will show up | The following page will show up | ||
:::[[File:Ijomlainstallerstart.png]] | :::[[File:Ijomlainstallerstart.png]] | ||
| − | + | When you're ready to install JomSocial, just enter the license number for the respective version of JomSocial you bought. License numbers can be found in '''My Downloads''' area at the main jomsocial site. When license number is inserted, press the blue '''Install''' button and installation will begin<br/> | |
| + | :::[[File:Installerinstalling.png]] | ||
| + | '''Dont forget''' that even if installing on localhost, you will still need to define '''support''' and '''install''' domain in '''My Downloads''' area of main JomSocial site, otherwise, installation wont start and will return an error | ||
==Completing the Installation== | ==Completing the Installation== | ||
| − | + | After iJoomla Installer installs the component on the site, you can proceed with '''Complete Your Installation''' steps. | |
| − | {{alert|<strong>Note:</strong> If any of the values are marked in yellow | + | ::: [[File:Completeinstallation.png]] |
| − | + | Hit the big green button from the screen above and first JomSocial installation screen will appear. Make sure all the requirements are met and then click '''Next'''.<br/> | |
| − | + | ::: [[File:Installationscreen.png]] | |
| − | + | {{alert|<strong>Note:</strong> If any of the values are marked in yellow, do not worry, JomSocial will probably still work. If you're concerned that it might not work please make sure your system meet the minimum [[System Requirements|system requirements]].|alert-warning}} | |
| − | + | Wait till the installation is completed and then press '''Done''' button. | |
| − | + | You will be greeted with the '''JomSocial Backend Control Panel''' | |
| − | ::: [[File: | + | ::: [[File:Instdone.png]] |
| + | |||
| + | ==See Also== | ||
| + | * [[Traditional Installation]] | ||
| + | * [[Common Installation Errors]] | ||
| + | * [[Update With Patch Files]] | ||
| + | * [[Updating From Very Old JomSocial Versions]] | ||
Latest revision as of 07:54, 15 June 2018
NOTE : IJOOMLA Installer no Longer supported.
Contents
Overview
This guide covers a fresh installation of the jomSocial 3 component into the Joomla CMS. You will need a working Joomla! site in order to install JomSocial. Please refer to the article, minimum system requirements, to determine the requirements your server will have to meet.
You can also use the iJoomla installer to upgrade your site
Adding Support and Install Domain Licenses
Before you can proceed with the installation of JomSocial 3, you must add these domains into your account area. To do this please navigate to main JomSocial site and click at the "My Account" link in the top right corner
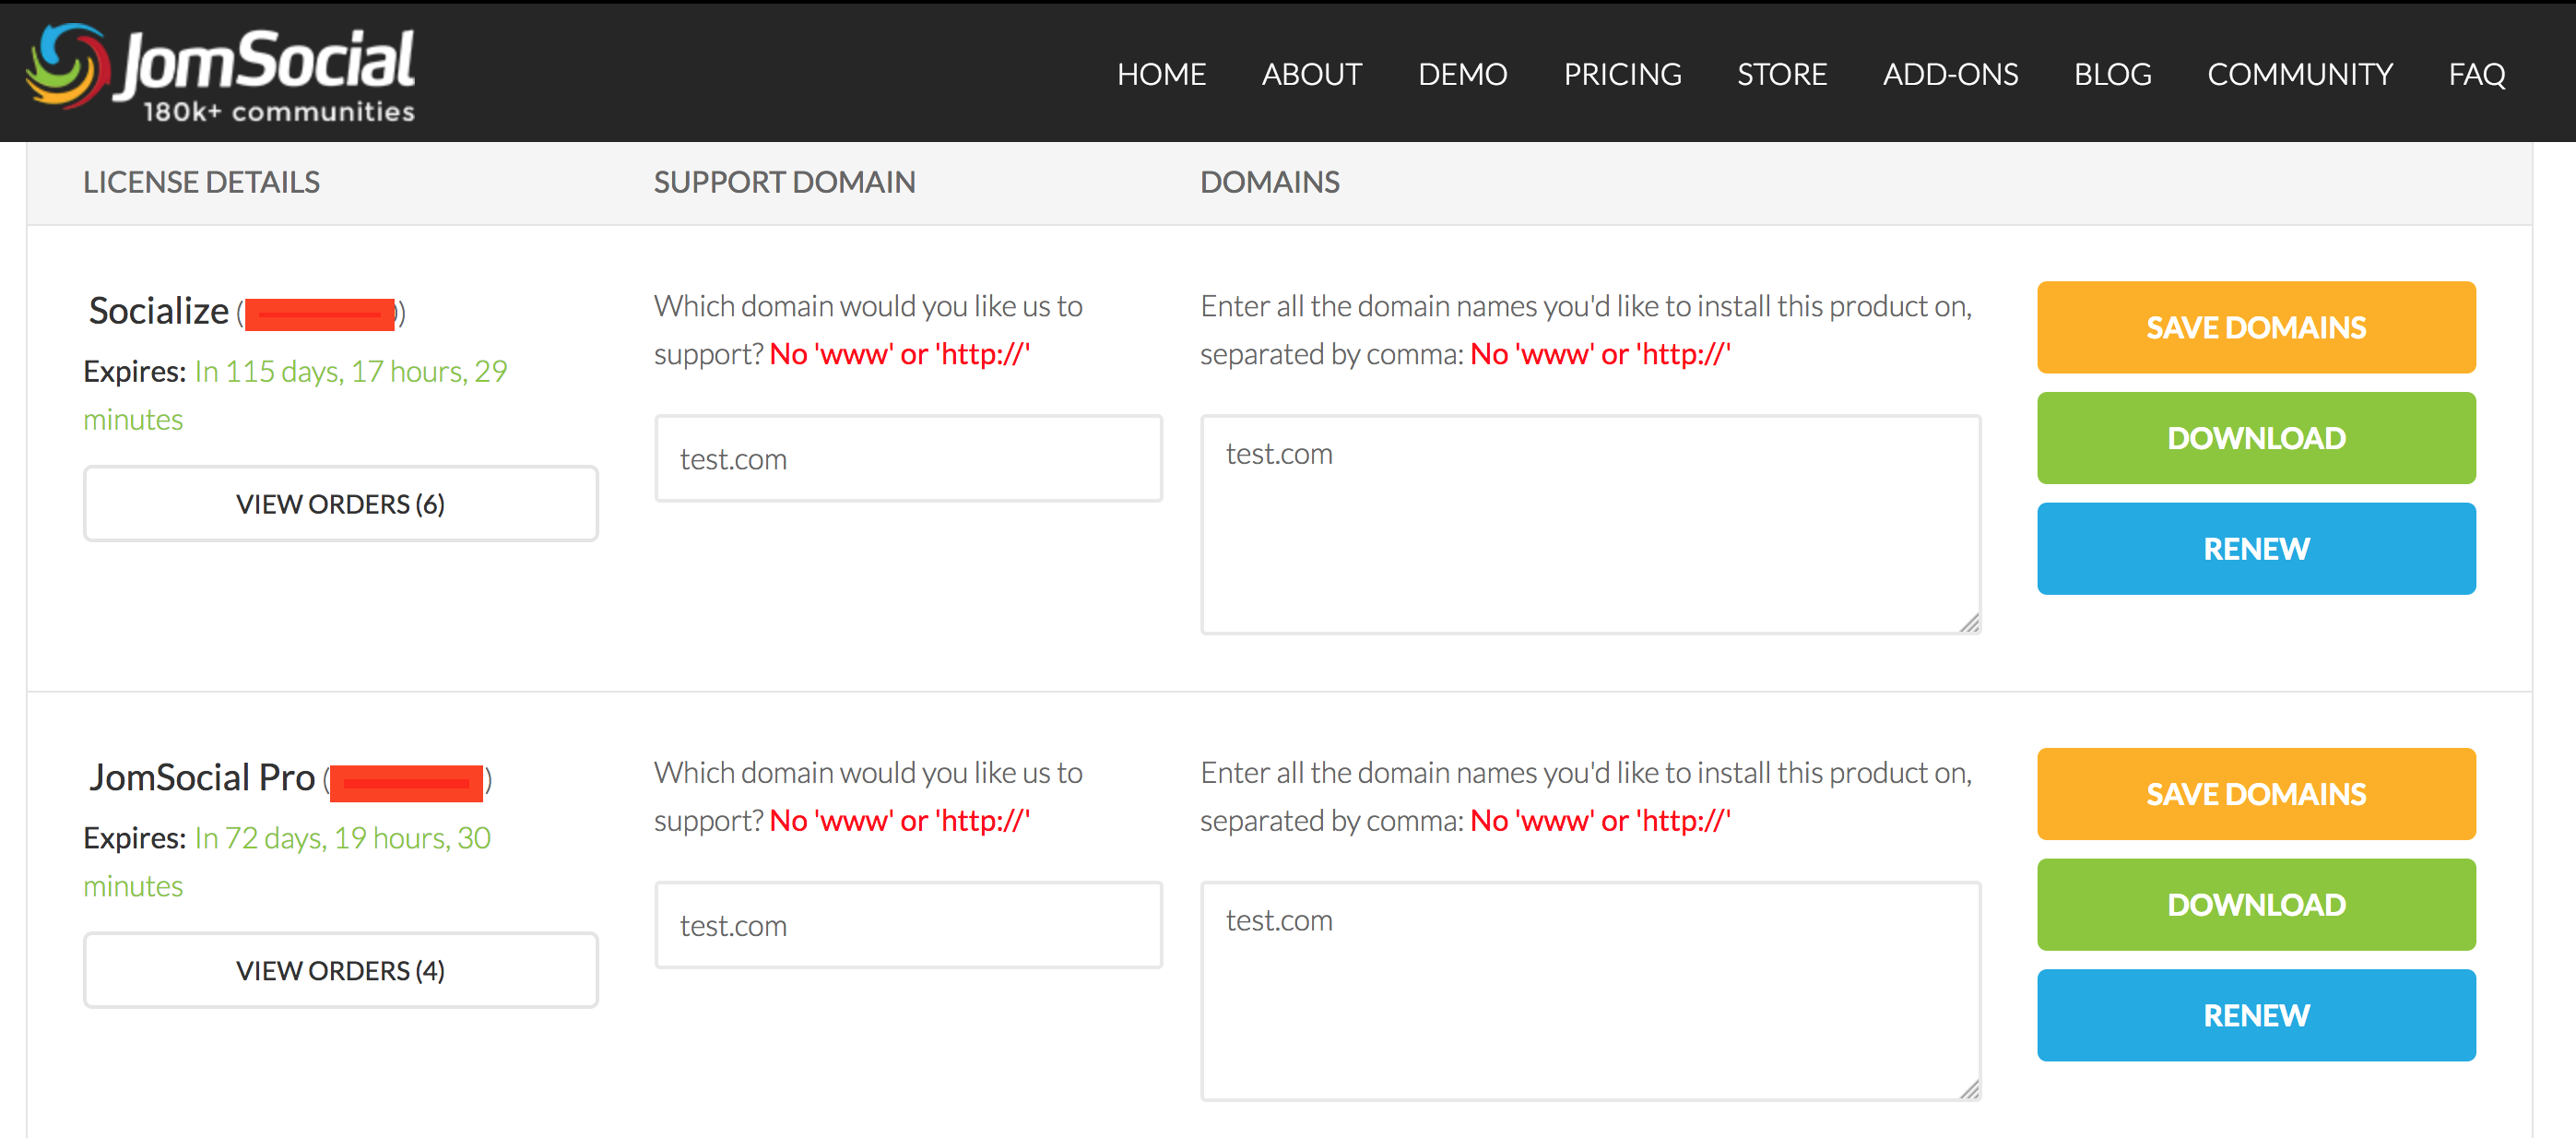
"My Downloads" page with all of the purchases you ever made will be open.
For every license you might have, please enter the support and install domain
- Support Domain - This will be the domain you will officially get technical support for
- Domains you wish to install this product on - All additional domains you want to install the component on. No technical support will be provided for those.
Downloading iJoomla Installer
After support and instalation domains have been set, the green download button will become active and you will be able to download the package you have purchased.
Download the package and save it on your hard drive
Check for Installation Permissions
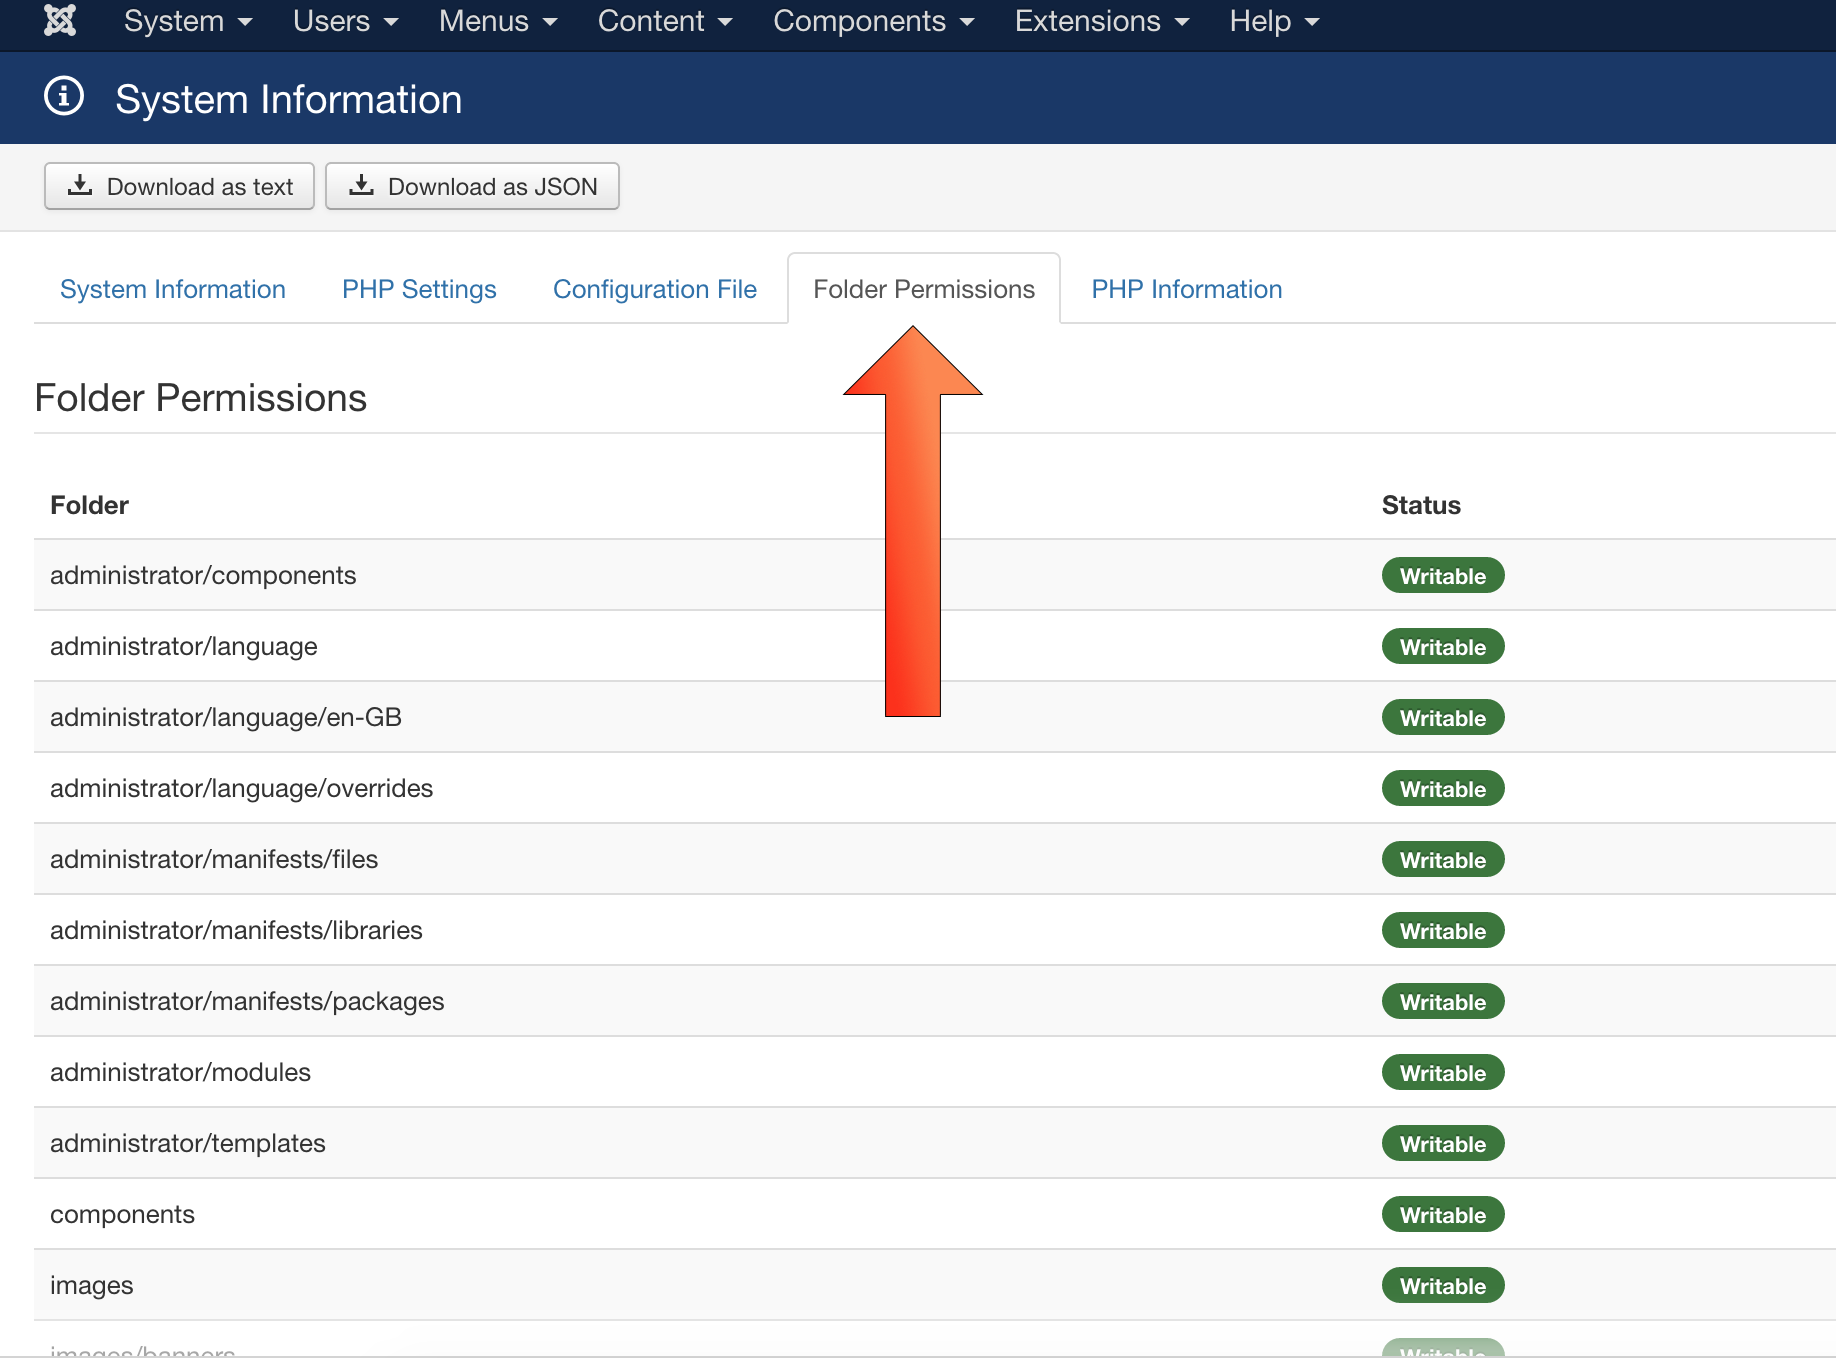
1. Login to your Joomla Administrator backend. From the System dropdown menu, click on System Information.
2. Click the Folder Permissions tab and make sure all folders are Writable.
Using iJoomla installer to Install JomSocial
First, unpack the downloaded package using WinZip or any other archive software
Navigate back to backend and from Extensions dropdown menu select Manage then Install
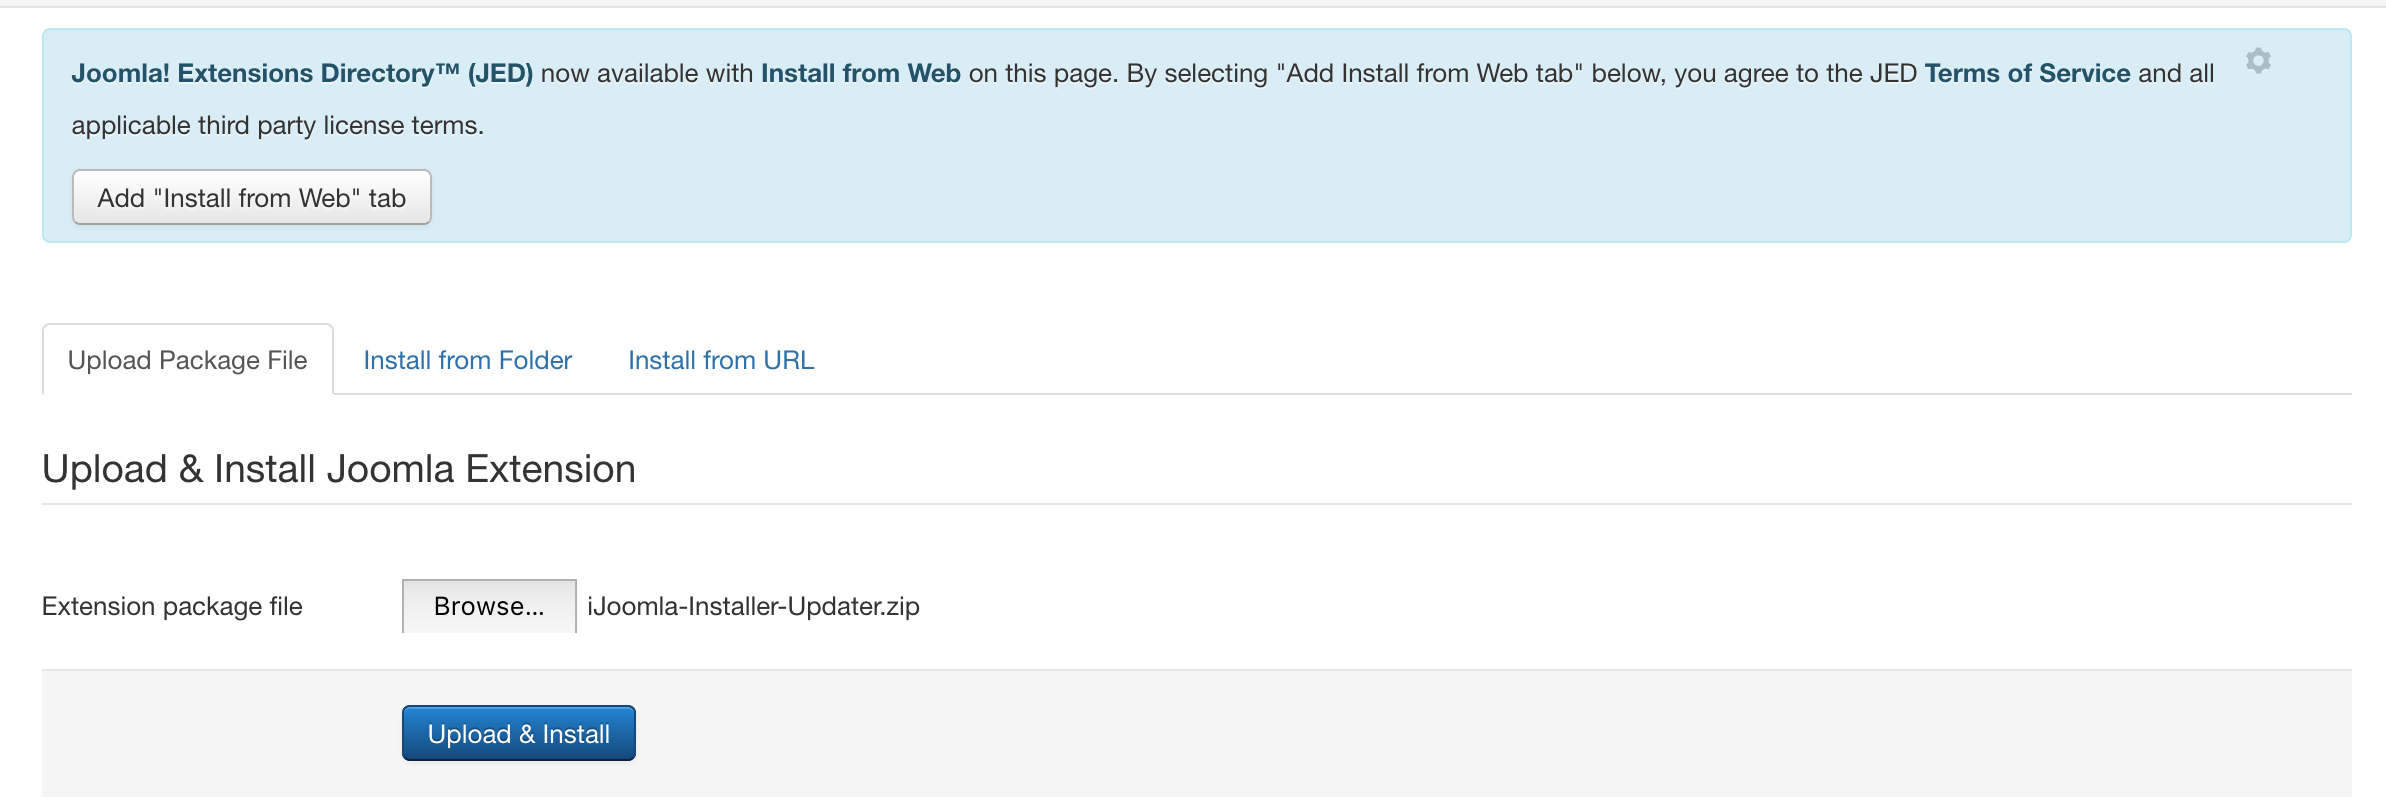
From the Upload Package File tab under Install, browse for the iJoomla-Installer-Updater.zip file you unzipped and select it. Then, click Upload & Install to begin installation
Once installed, navigate to Components -> iJoomla Installer component
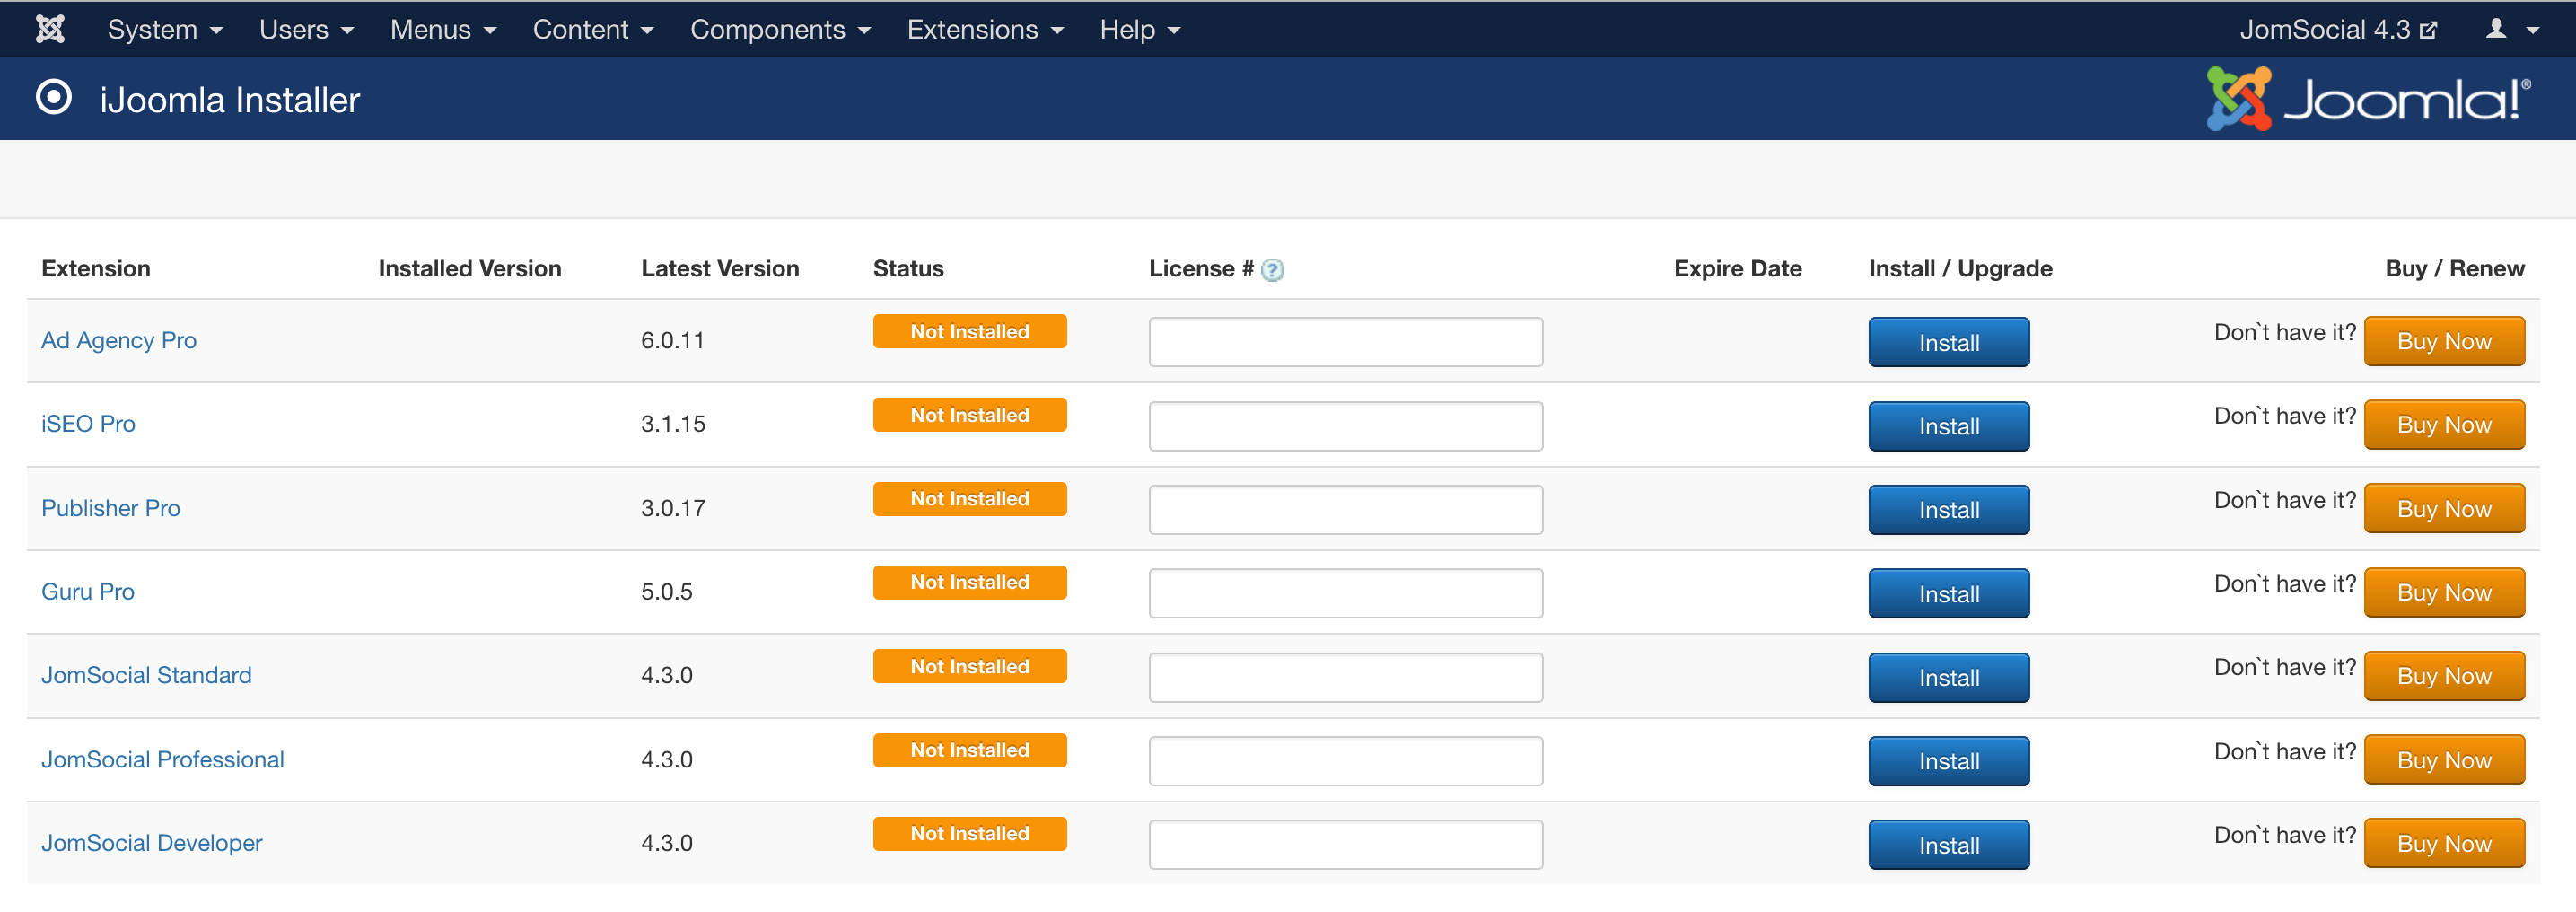
The following page will show up
When you're ready to install JomSocial, just enter the license number for the respective version of JomSocial you bought. License numbers can be found in My Downloads area at the main jomsocial site. When license number is inserted, press the blue Install button and installation will begin
Dont forget that even if installing on localhost, you will still need to define support and install domain in My Downloads area of main JomSocial site, otherwise, installation wont start and will return an error
Completing the Installation
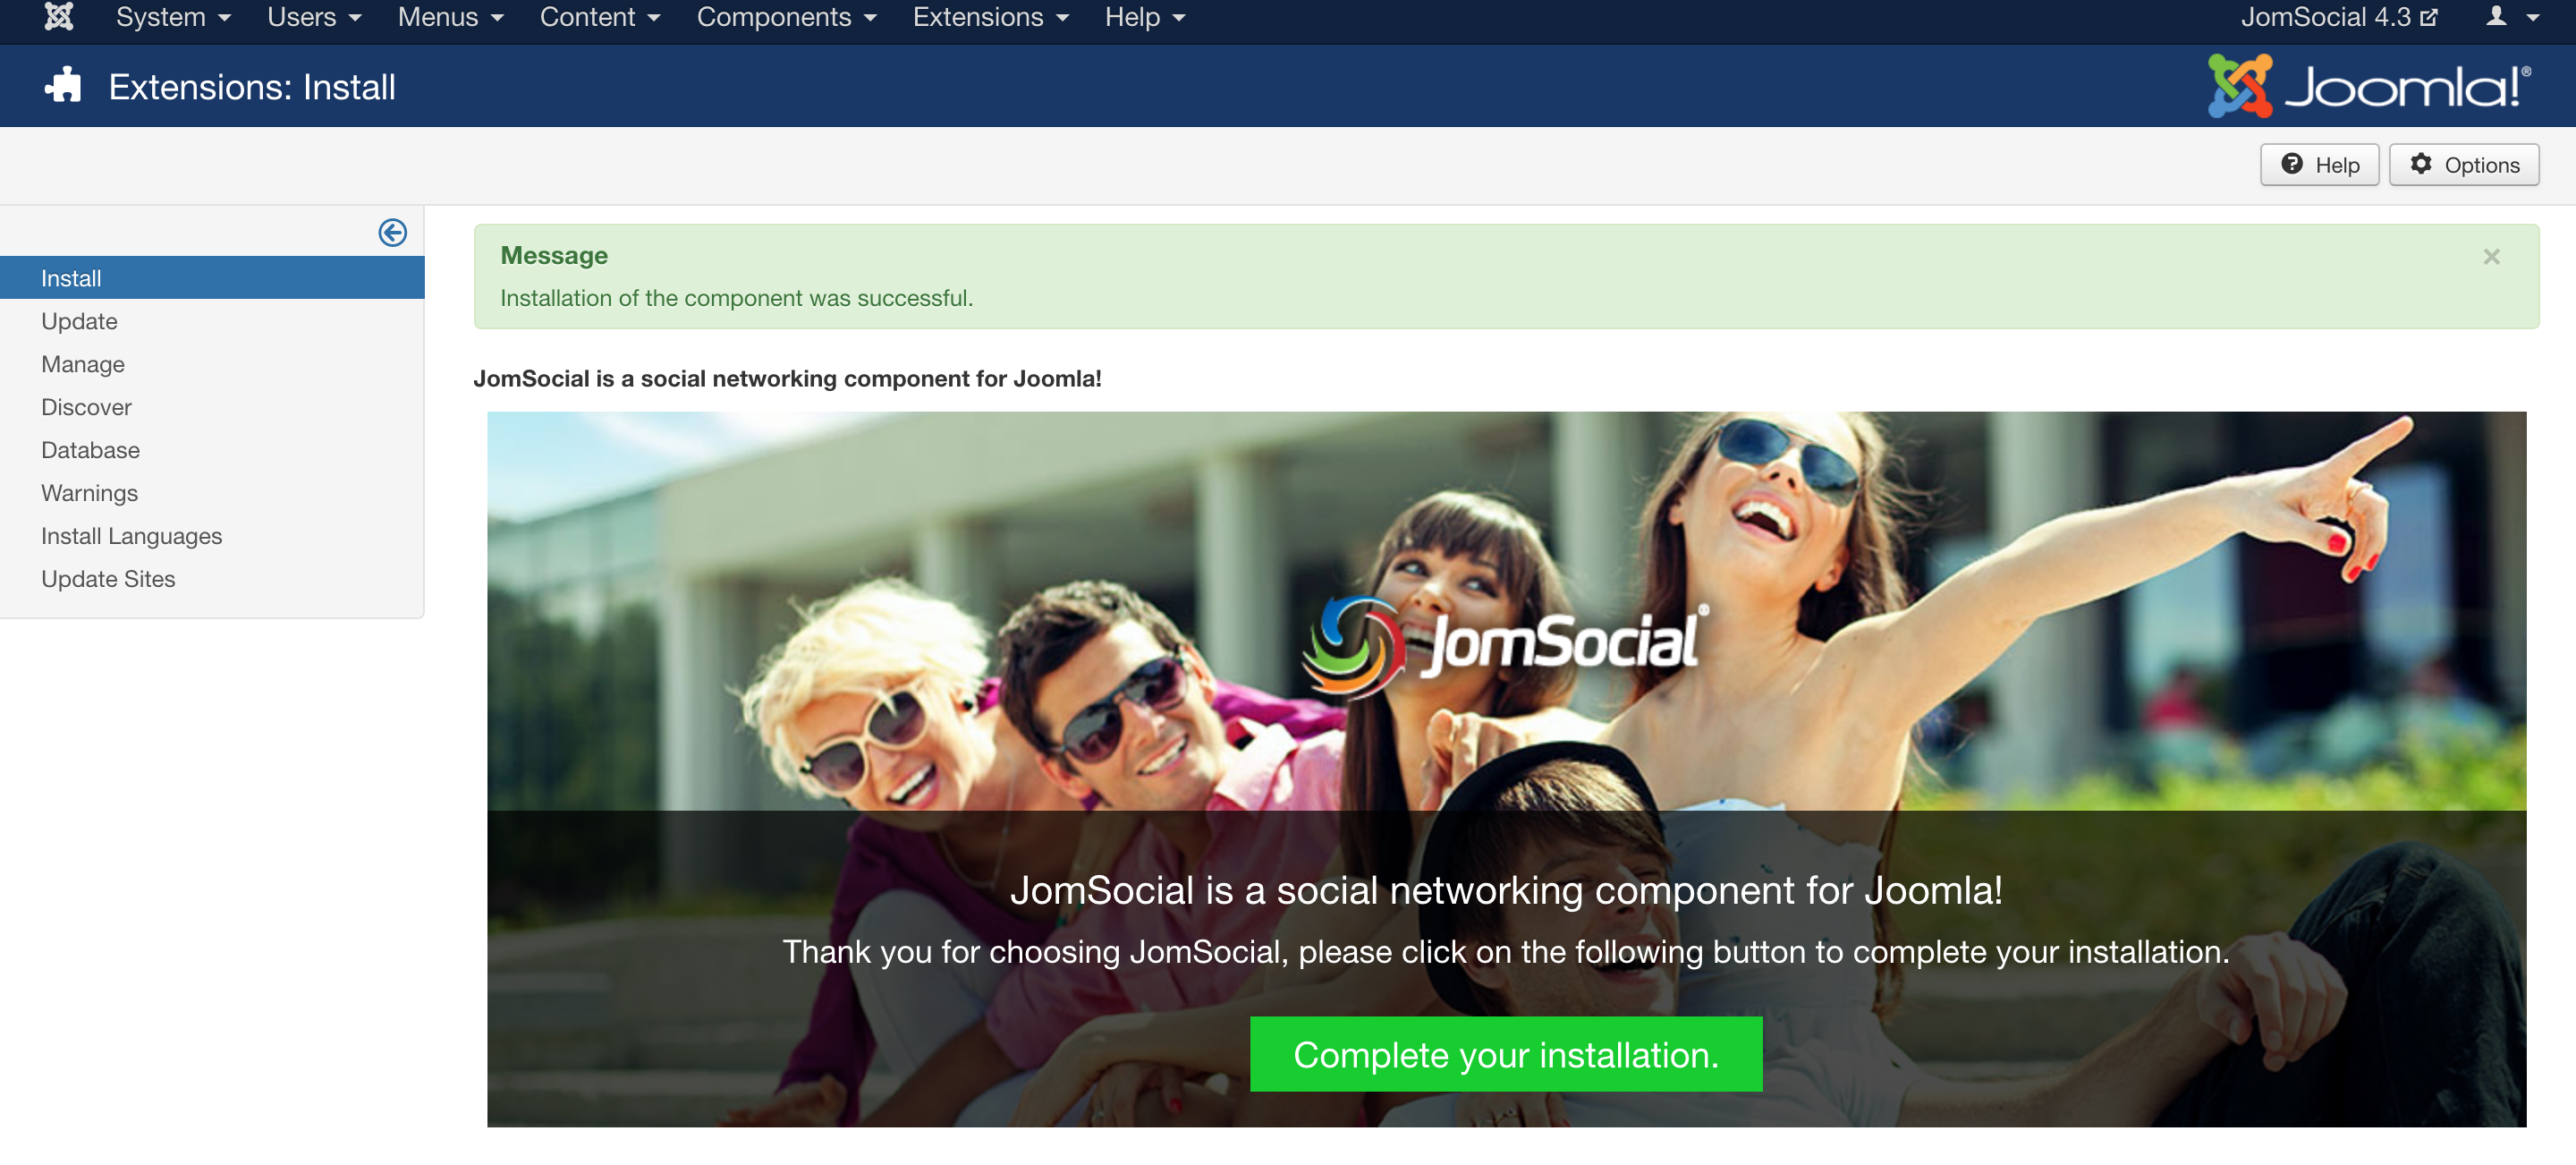
After iJoomla Installer installs the component on the site, you can proceed with Complete Your Installation steps.
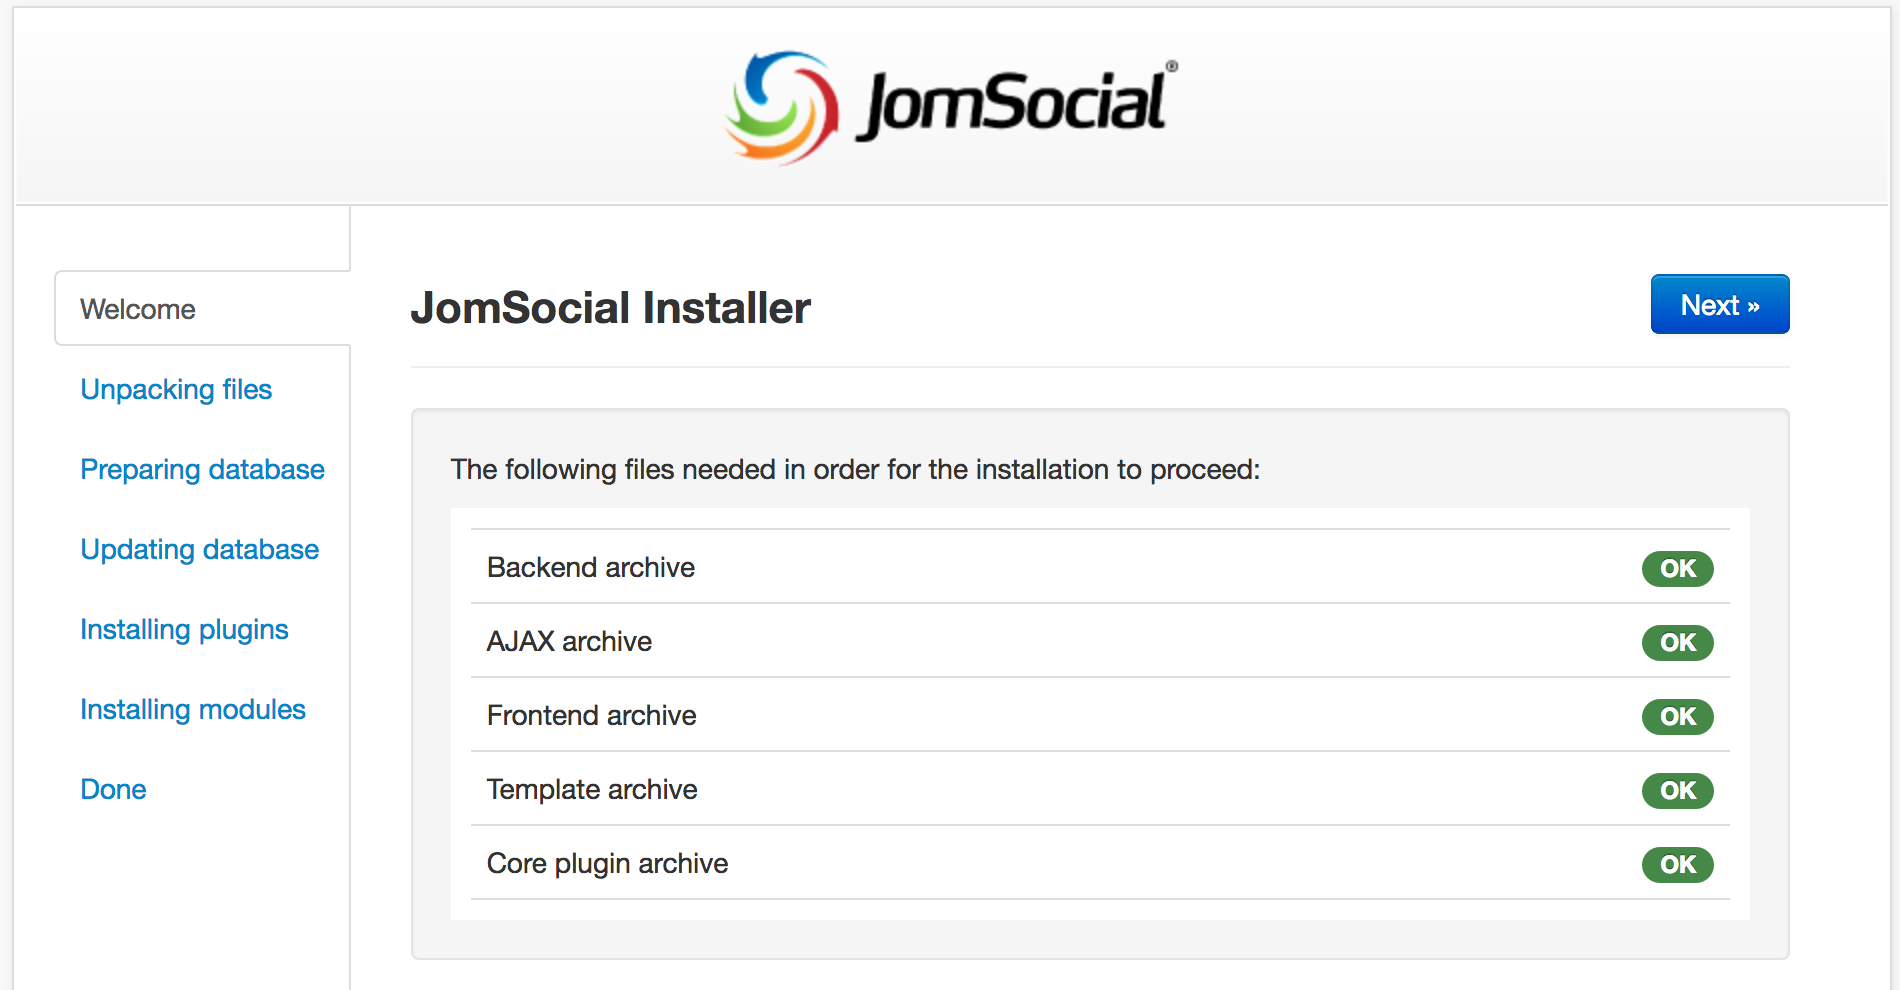
Hit the big green button from the screen above and first JomSocial installation screen will appear. Make sure all the requirements are met and then click Next.
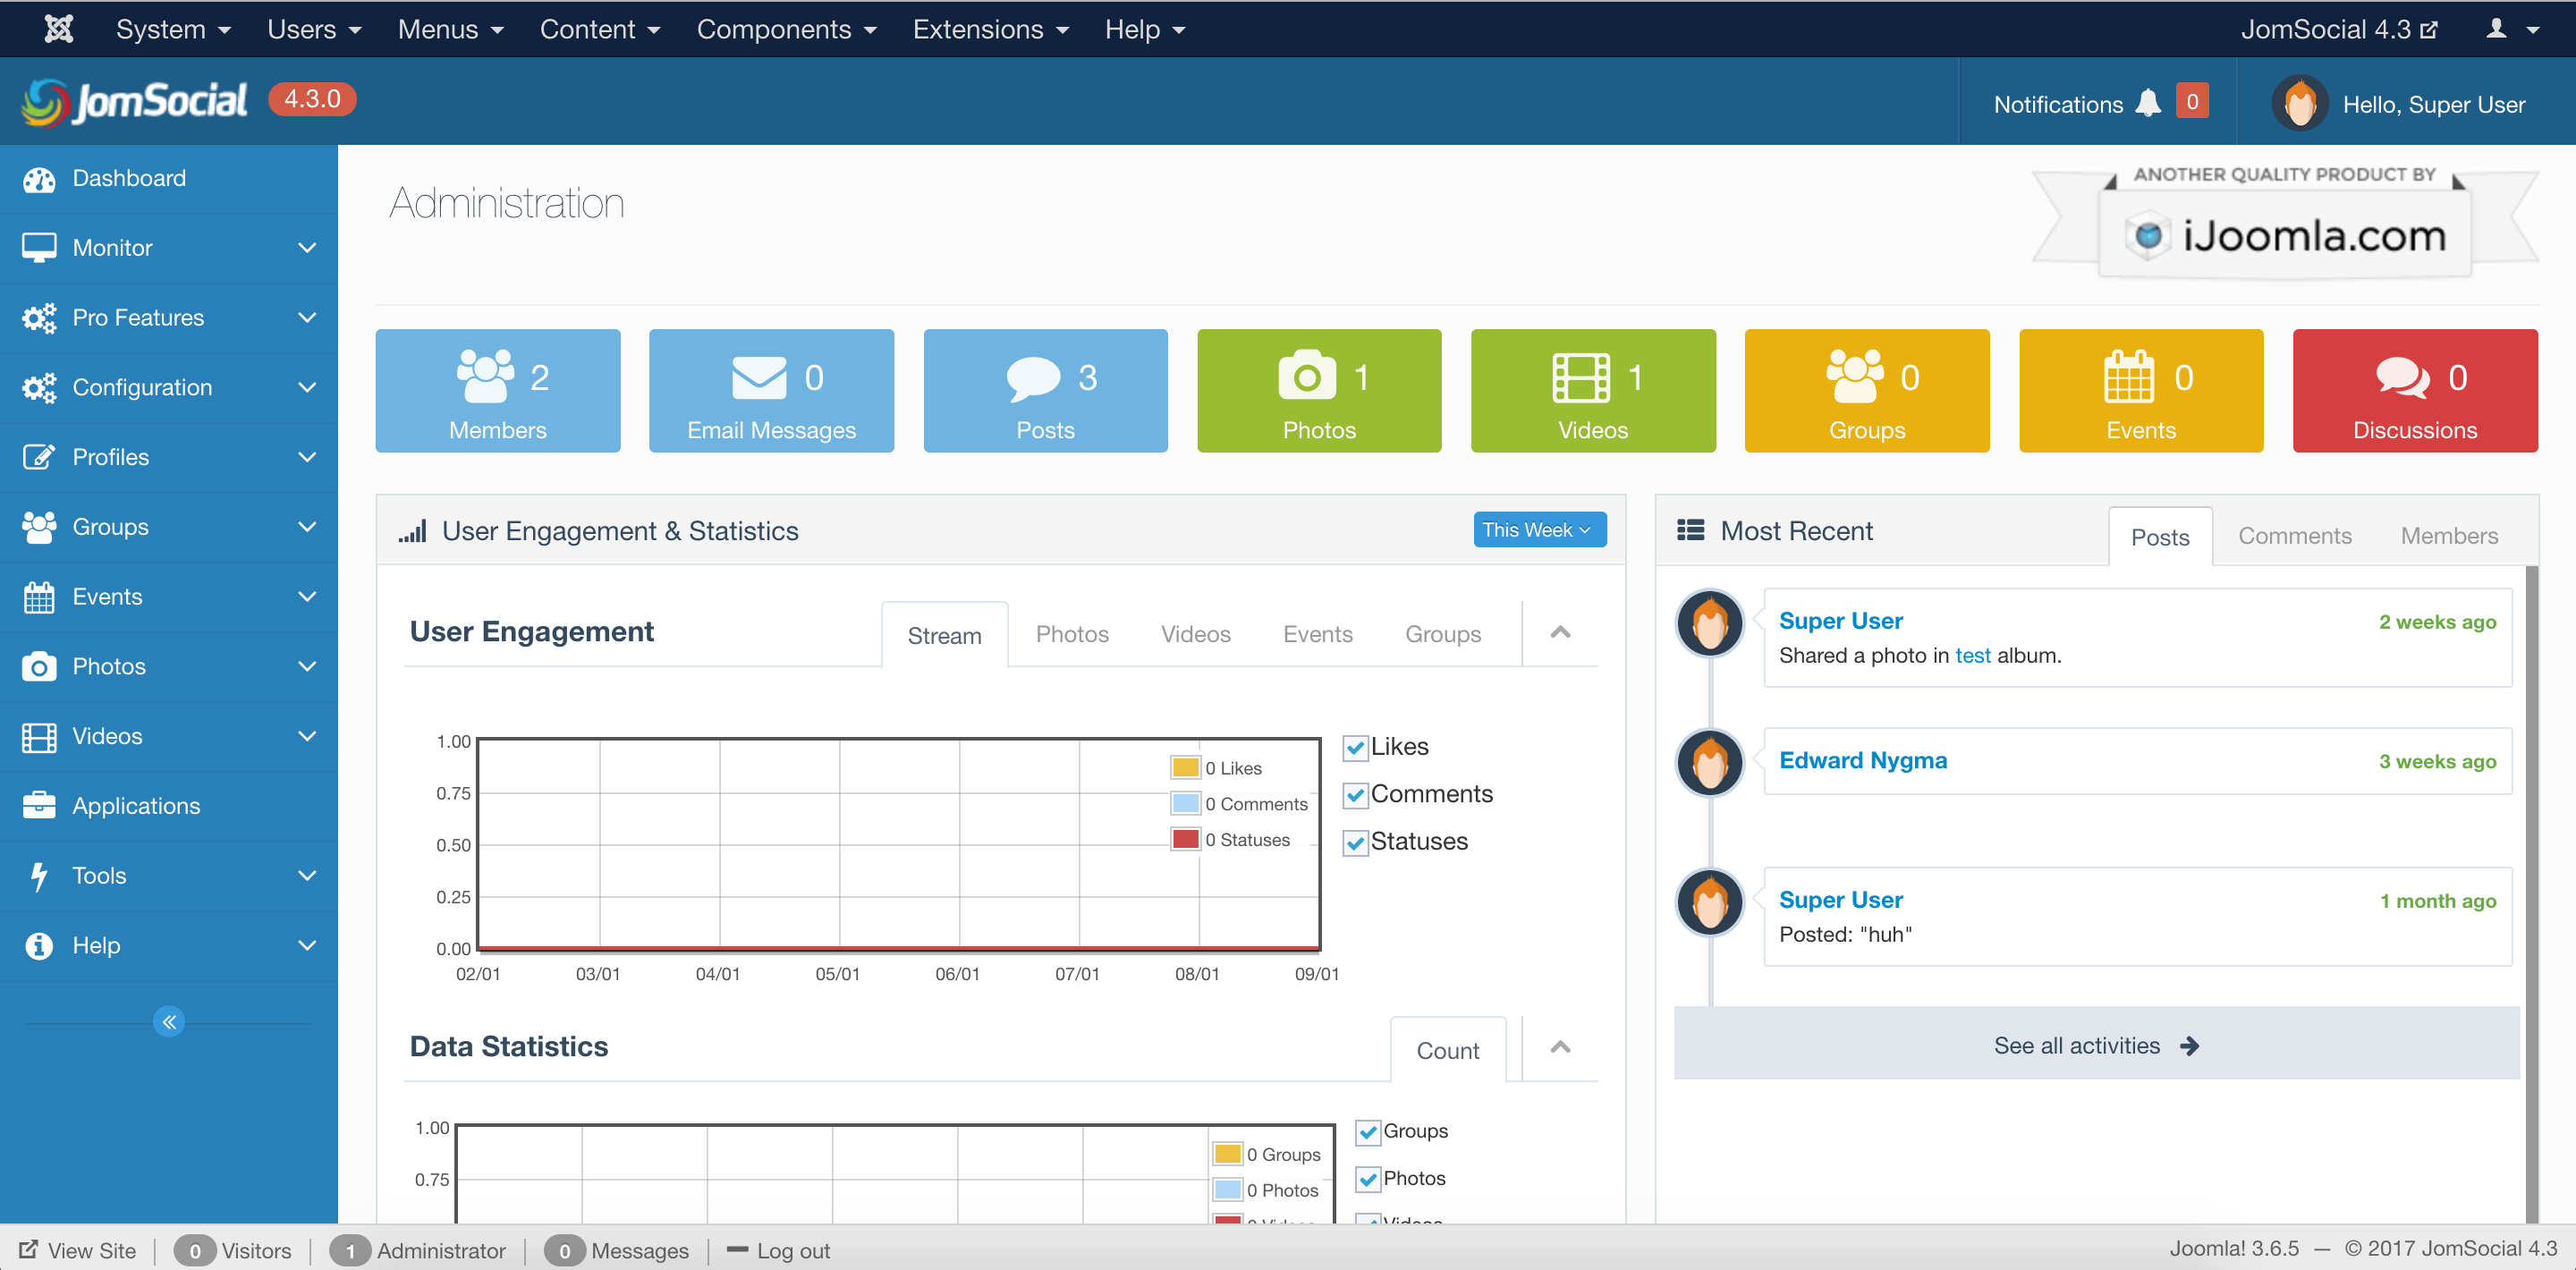
Wait till the installation is completed and then press Done button. You will be greeted with the JomSocial Backend Control Panel


