Contents
Overview
Sometimes it can happen that you want to change a sentence or a word in jomSocial. It is pretty much simple task to do, just follow the guide bellow.
Locating exact phrase to be changed
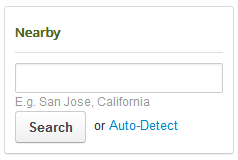
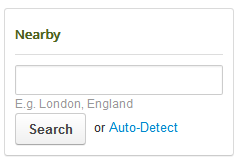
In this guide, we will use jomSocials's default example for locations. It can be found on Photo, Video and Event related pages and it looks like this
Lets asume we are from UK, and that there is no sense to give our users the E.g. San Jose, California example, but we rather want to change it to E.g. London, England
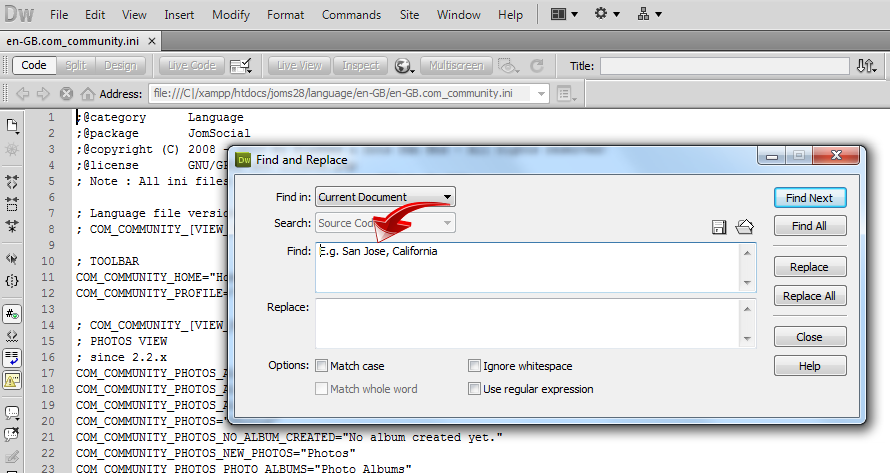
We will have to navigate to ROOT/language/en-GB/ folder and with the favorite code editor open the default jomSocial language file which is en-GB.com_community.ini, and then search for exact phrase we want to replace
You will find this sentence occurring on several places in the translation file
- for JomSocial 2.8
- Line 85: COM_COMMUNITY_PHOTOS_ALBUM_LOCATION_DESC="E.g. San Jose, California"
- Line:229: COM_COMMUNITY_VIDEOS_LOCATION_DESCRIPTION="E.g. San Jose, California"
- Line 2033: COM_COMMUNITY_EVENTS_LOCATION_DESCRIPTION="E.g. San Jose, California"
The example above shows that we have 3 translations for the same thing, which someone might find it unnecessary, but this actually allows you to have different translations for location examples on Photos, Videos and events pages, respectfully.
Changing the wording
Changing the translation in language file directly, and saving, will obviosly work, but this is not recommended practice because en-GB language is the default language for most of the components in Joomla, and those usually get overwritten on every single update.
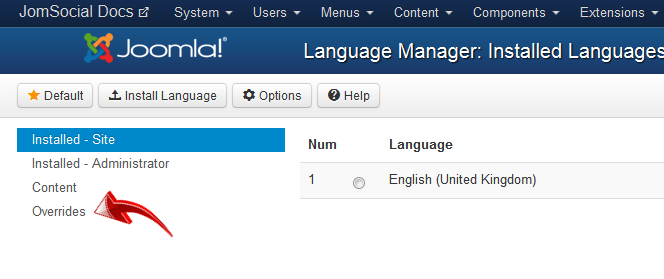
To ensure your version of the translation will work after update, navigate to site backend and from Components dropdown menu select Extensions -> Language Manager
Click on Overrides menu on the left
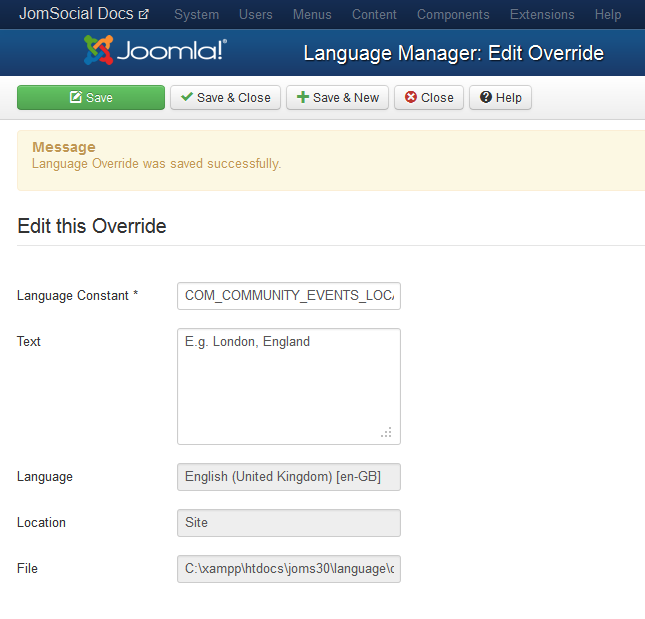
Click on New and in the screen that shows up, you will need to populate these two options
- Language Constant - This is the COM_COMMUNITY_LANGUAGE_KEY part
- Text - This is the new translation that you want to use. Please read the tooltip description of this field carefully before you proceed
We are going to translate the one for Events, so in
- Language Constant - we enter COM_COMMUNITY_EVENTS_LOCATION_DESCRIPTION
- Text - we enter our new text that will show up E.g. London, England
And finally, click on save
Result on the Front End
Navigate back to Front End of the site, and now we should have our language override set in place

